
Last updated November 21, 2026
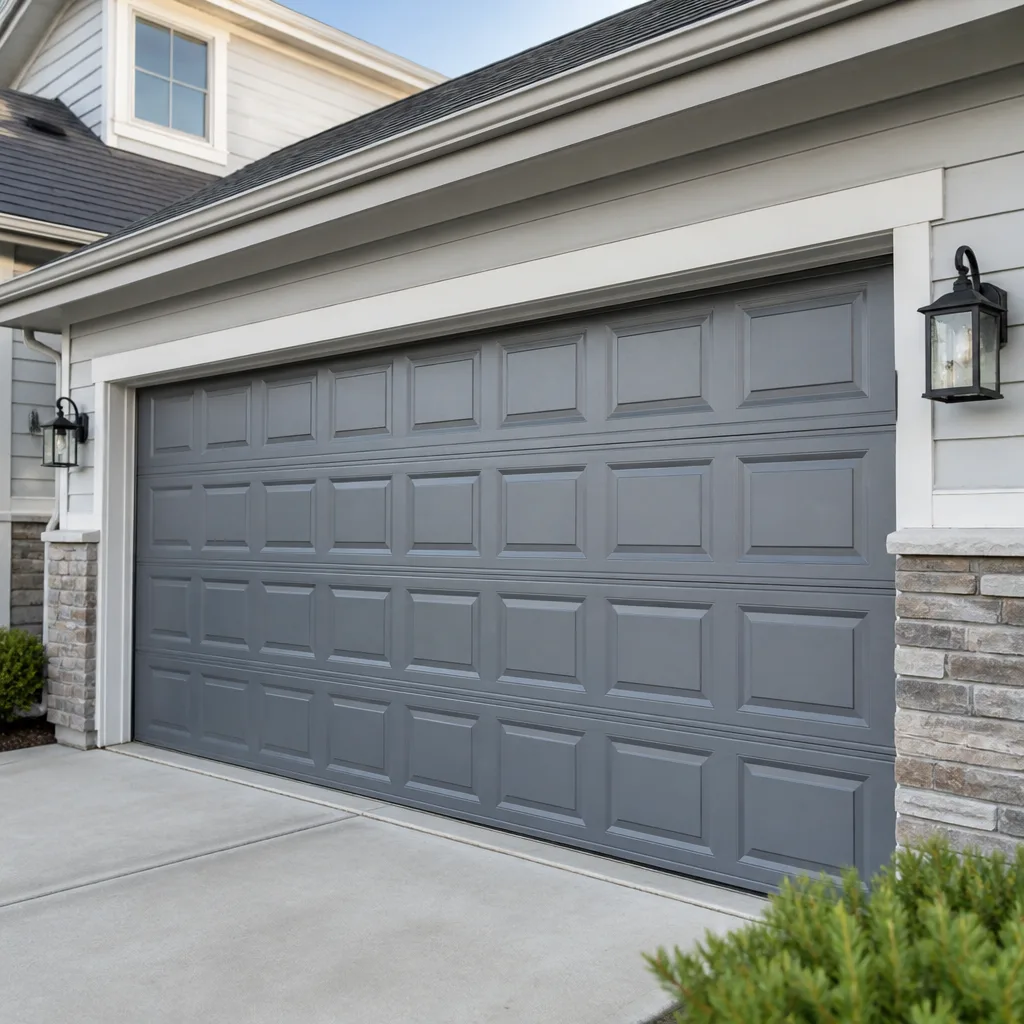 Raised-panel steel
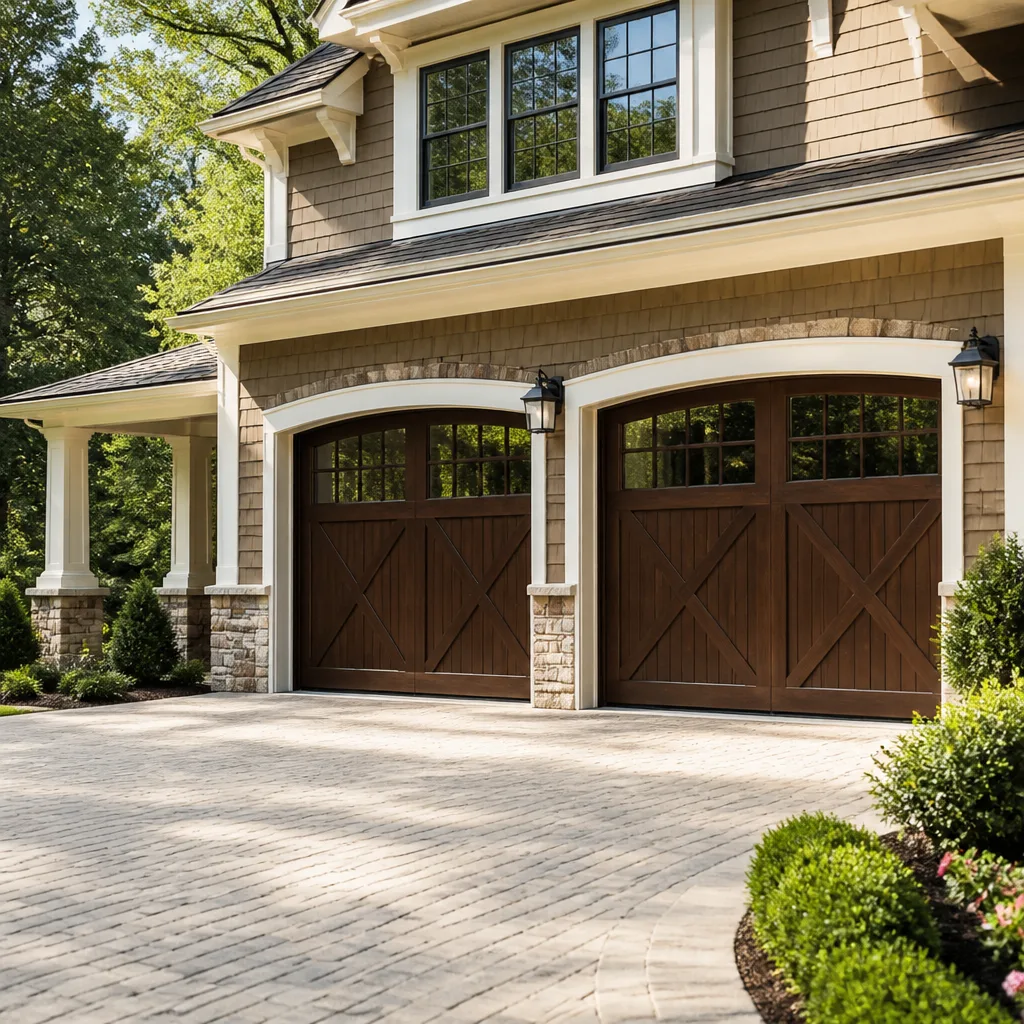 Carriage house
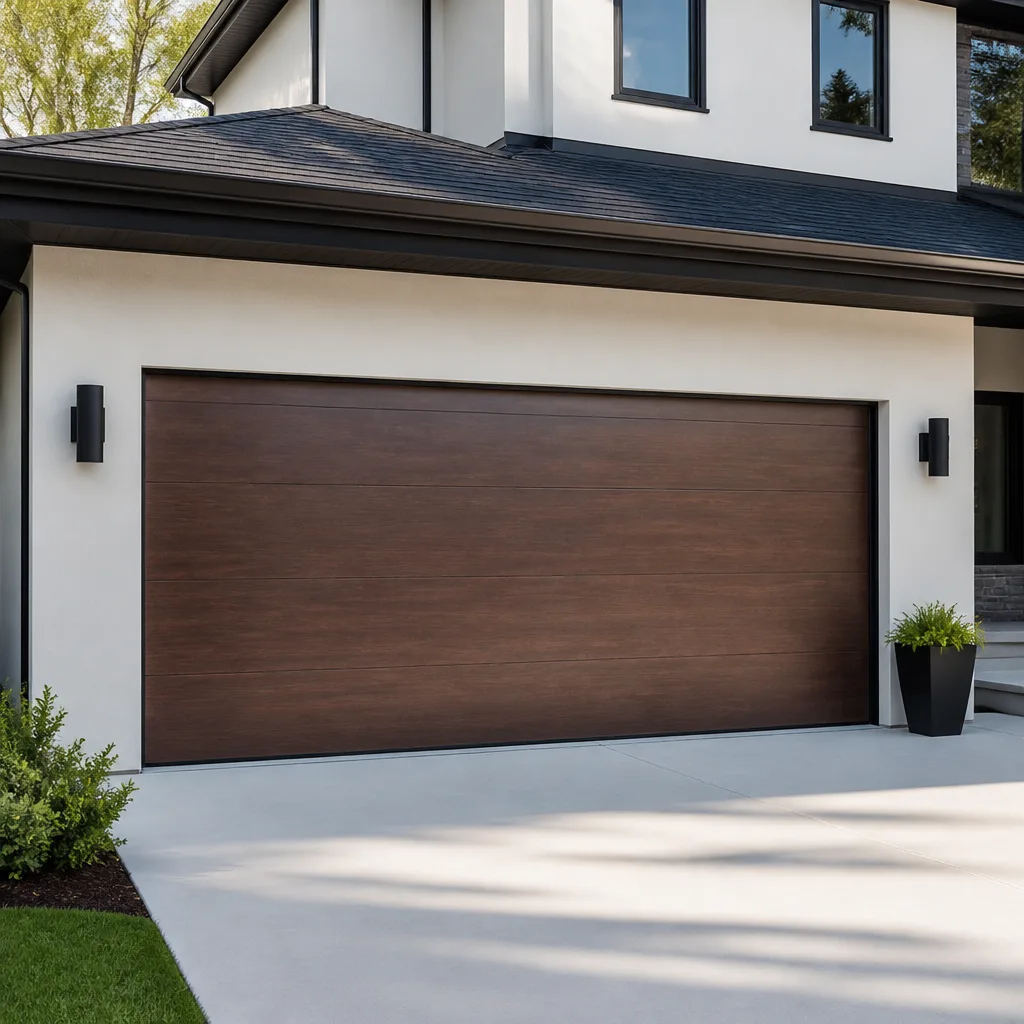 Modern flush
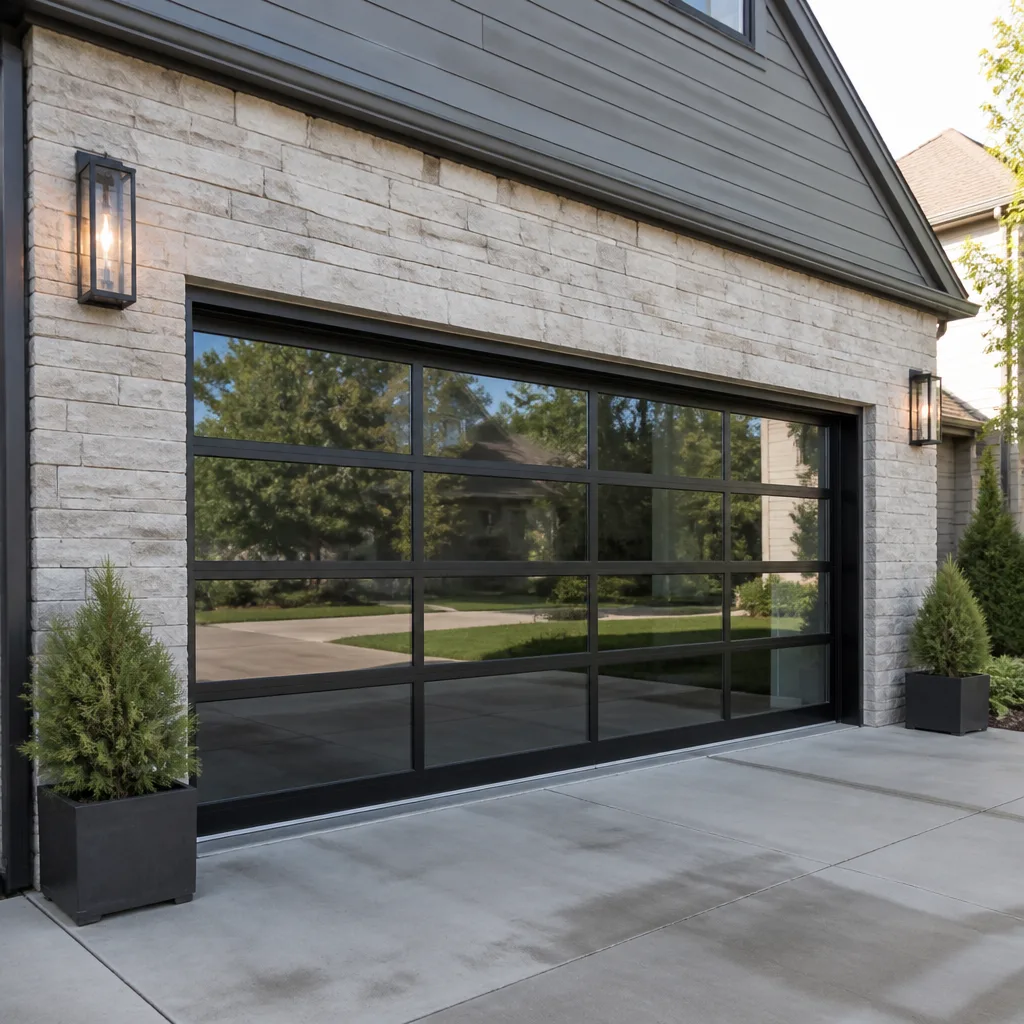 Full-view glass
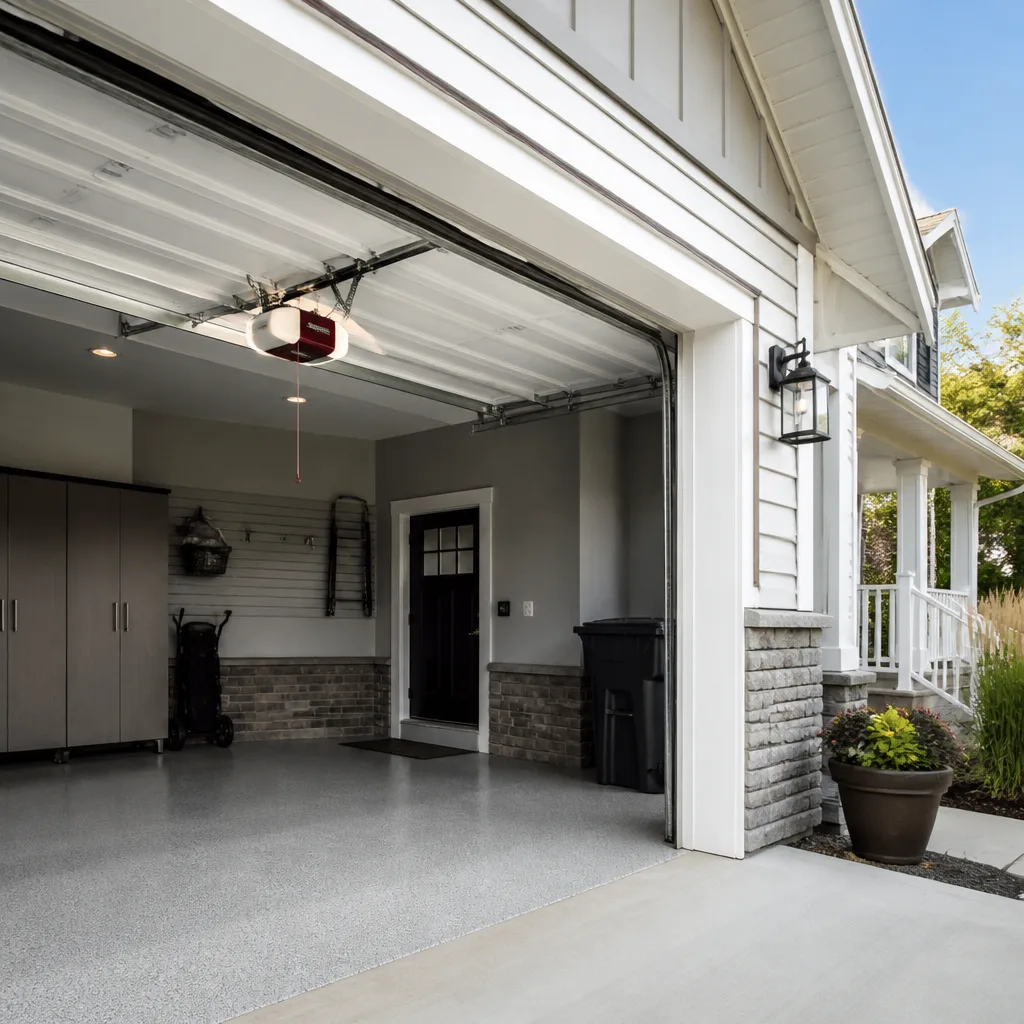 LiftMaster openers
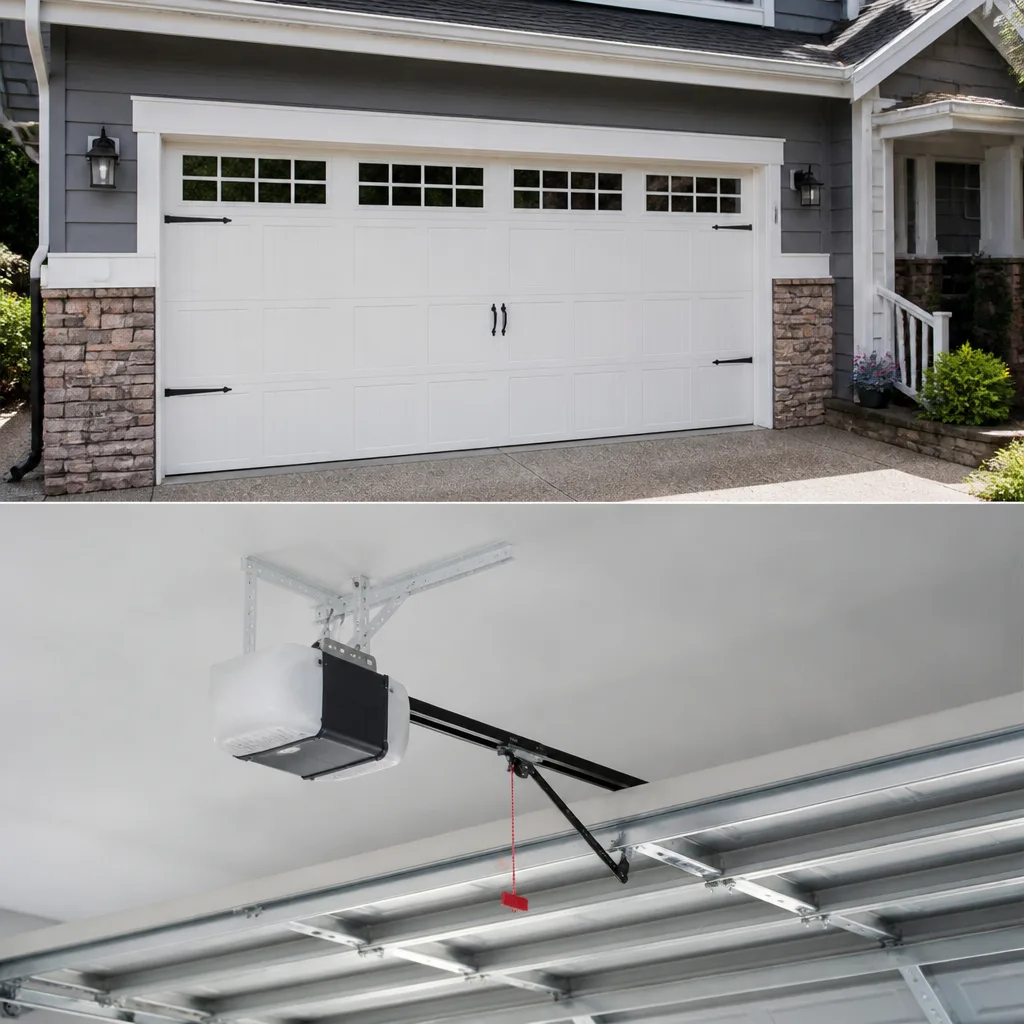 Chamberlain openers
Full 25-point door and opener safety check with every visit - springs, cables, rollers, tracks, and your LiftMaster or Chamberlain opener included
You get a price before we start. It does not change when the pro arrives.
Get your free estimateGarage Door Repair Maintenance Checklist for Bloomington Homeowners
The three most expensive garage door repairs in Minnesota – broken torsion springs, snapped lift cables, and seized openers – are almost always preceded by warning signs a simple inspection would have caught weeks earlier. Most homeowners never look. They press the button, the door goes up, and they assume everything is fine until the morning it isn’t. In Bloomington, the pattern is even more predictable: a January cold snap locks up a tired spring, a humid July works on the cables, and by the following winter the whole system is running on borrowed time. This guide gives you a season-by-season checklist built around the failures we actually see in Bloomington homes, the lubrication products that hold up to Minnesota temperature swings, and the point where a finding stops being a weekend project and becomes a call to a professional.
Quick Answer
Inspect your garage door twice a year – once in late fall before the first hard freeze in Bloomington and once in spring after the ice and road salt are gone. Each inspection should take under 30 minutes and cover springs, cables, rollers, hinges, weatherstripping, and the balance and force tests on the door and opener. Anything that looks frayed, bent, cracked, or sounds wrong is either a fix you can do with a wrench and a can of lubricant or a sign to call a trained technician before it becomes a larger repair. Never adjust, remove, or touch the springs or cables themselves; those carry enough stored tension to cause serious injury.
Styles & brands we work with
- Raised-panel steel
- Carriage house
- Modern flush
- Full-view glass
- LiftMaster openers
- Chamberlain openers
Table of Contents
- Why Bloomington Garage Doors Fail Differently
- Pre-Winter Checklist: What to Inspect Before the First Freeze
- Post-Winter Checklist: What to Check After the Thaw
- The Right Lubricants for Minnesota Temperatures
- The Balance Test and Force Test You Can Do Without Tools
- The 10-Minute Visual Inspection Sequence
- DIY Fix vs. Professional Call: Where the Line Is
- Opener and Safety Reverse Checks
Why Bloomington Garage Doors Fail Differently
Bloomington sits in a climate that asks more of a garage door than most of the country. Winters routinely drop below zero, which shrinks and stiffens steel torsion springs and makes cold grease turn to paste. Summers swing the other direction with humidity that swells wood door panels and works its way into bearings and hinges. Road salt tracked in from the driveway and the street finds its way onto bottom brackets, rollers, and the lower hinges, and over a few seasons that corrosion adds friction the opener has to fight through.
The housing stock matters too. Bloomington has a wide range of neighborhoods – from older homes near the river flats to newer construction out toward the western edges – and each brings a different set of door types. Older homes often have heavy wood doors on lighter-duty openers, which stresses the system more than the door was designed for. Newer homes tend to have insulated steel doors paired with modern openers from brands like LiftMaster or Chamberlain, which are more forgiving but still wear on the same schedule.
The result is that a generic “check your garage door once a year” checklist misses the two moments when Bloomington doors actually break: the first sustained cold snap in late December and the freeze-thaw cycles of late February and March. A maintenance routine that doesn’t align with those moments is doing half the job.
If you’re already noticing a problem, our Bloomington Garage Door Repair Pros page covers the repair side in more depth, including how to think about emergency calls and what to expect from a service visit.
Pre-Winter Checklist: What to Inspect Before the First Freeze
The fall inspection is the most important one in Minnesota. A spring that’s been slowly losing tension all summer will often survive one more winter if the rest of the system is in good shape, but a stiff, dry system under a cold load is where the loud bang tends to come from. Aim to run this checklist in late October or early November, before the first hard freeze settles in.
Task-by-task pre-winter checklist
- Listen to the door. Open and close it slowly twice. Grinding, squealing, or a heavy shudder usually means dry rollers, worn hinges, or a failing bearing plate – all fixable before winter if caught now.
- Look at the springs. With the door closed, inspect the torsion springs (the horizontal bar above the door) or extension springs (running along the top tracks on older setups). Look for visible gaps in the coil, a stretched section, or rust streaks along the wire. Do not touch or try to measure tension – just note what you see. A visible gap means the spring has already broken and the door is being held by the opener or cables alone.
- Check the cables. The two steel cables running down each side of the door should be taut, straight, and free of frayed strands or kinks. A single broken strand is a warning – the cable may not last the winter.
- Inspect the rollers. Steel rollers should spin freely and feel smooth. Nylon rollers should not be cracked or flattened. Any roller that wobbles in its stem needs replacement.
- Test the weatherstripping. The rubber seal along the bottom of the door should compress against the floor with no daylight visible. The side and top seals should be intact with no tears. Cold air pouring under the door puts extra load on the opener and lets snow and ice in.
- Lubricate the right points. Roller stems, hinge pivots, and the torsion bar bearing plates get a proper garage door lubricant. The track itself stays dry. More on that below.
- Tighten the hardware. With a socket wrench, check the bolts on the hinges and the roller brackets. Vibration loosens these over a season. Don’t overtighten; snug is enough.
- Run the balance and force tests. Detailed below, but the quick version: with the door disconnected from the opener, it should hold position midway up and lift with one hand.
If any of steps two, three, or four turn up something concerning, that’s the time to call. We handle garage door spring repair regularly, and the late-fall window is when we see the most pre-failure calls from Bloomington homeowners trying to get ahead of the cold.
Post-Winter Checklist: What to Check After the Thaw
The spring inspection is where winter damage tends to show up. Freeze-thaw cycles work moisture into places it doesn’t belong, road salt sits on the bottom brackets and hinges for months, and the door has been cycling through temperature swings that stress every moving part. Run this checklist in April or early May, once the snow is gone and the driveway is dry.
Post-winter checklist
- Look for rust on the bottom brackets, hinges, and roller stems. White powdery corrosion or orange streaks mean road salt has been eating the finish. Light surface rust is fine; flaking metal or a seized hinge pivot calls for replacement.
- Check the rollers for flat spots. Cold weather can flatten steel rollers that sat in one position for weeks at a time, especially if the door was rarely used. Flat spots cause a rhythmic bump as the door opens.
- Inspect the weatherstripping again. Winter cold cracks rubber seals faster than anything else. The bottom seal is the first to go. Tears, missing chunks, or a stiff, brittle feel mean it’s time to replace it.
- Check the spring for new visible gaps or rust. A spring that survived winter may still be on its last legs. Rust is the leading cause of premature spring failure; if the coil shows rust streaks, plan on replacing it before the next season.
- Re-run the balance test. If the door used to hold itself halfway up and now doesn’t, the springs have lost tension.
- Test the safety reverse on the opener. Place a 2×4 flat on the floor in the door’s path and close the door. It should reverse on contact. If it doesn’t, the opener needs adjustment or service before serious use.
- Aim your phone camera at the top of the door and take a photo of the torsion bar assembly. A close look at the springs from a safe angle at the top of the door tells you far more than a squint from the floor.
If the door sounds different after the thaw than it did before winter – louder, slower to open, or jerky – something shifted during the cold months. That’s worth a professional look. When an opener is the culprit rather than the springs, our garage door opener repair team can diagnose most issues in a single visit.
The Right Lubricants for Minnesota Temperatures
Most of the “garage door lube” on the shelf at a big-box store is thin enough to work fine in July and thick enough to gum up by January. In a Bloomington garage that regularly hits single digits, the wrong product turns into sticky residue that attracts dust, hardens in the roller stems, and eventually makes the door harder to open than it was before you lubricated it. Here’s what actually matters.
What to use
- White lithium grease for roller stems, hinge pivots, and the torsion bar bearing plates. It holds up to cold better than general-purpose grease and stays where you put it.
- Silicone spray lubricant for the track. It’s dry, doesn’t attract dust, and works in cold. Never use grease on the track itself – it collects grit and turns the track into sandpaper.
- Garage door specific spray lubricant (most brands market a dedicated garage door product) for general use on rollers, hinges, and the lock mechanism if you have a manual lock.
What not to use
- WD-40 as a lubricant. It’s a decent penetrating oil and water displacer, but it doesn’t stay put and doesn’t hold up to cold. Using it on the springs or hardware can actually make things worse by dissolving existing lubricant.
- Automotive motor oil on the track or rollers. Too thin, attracts dust, and runs off onto the floor into a mess.
- Heavy grease on the track or hinges. Fine in summer, a brick in January.
- Silicone or Teflon spray on the springs themselves as a stand-in for proper inspection. Lubricating a spring hides its condition. You want to be able to see rust and wire damage clearly, not coat it.
How often
Twice a year, once right after the fall inspection and once after the spring inspection. If you use your garage heavily – say, two cars in and out multiple times a day – add a mid-summer touch-up on the roller stems and hinges. The torsion bar bearing plates get a small amount of white lithium twice a year and that’s usually plenty.
What to lubricate and what to leave alone
Lubricate: roller stems, hinge pivots, the bearing plates on the torsion bar, the lock if you have one, and the opener’s chain or belt (check the manufacturer’s spec for your model – a LiftMaster chain drive, a Chamberlain belt drive, and a Genie screw drive all want slightly different treatment).
Leave alone: the track (it should be dry; wipe it with a clean cloth to remove grit, but don’t grease it), the springs (for the reason above), and the photo-eye lenses on the opener’s safety sensors (a dry cloth only; any lubricant will smear and block the beam).
The Balance Test and Force Test You Can Do Without Tools
Both of these tests tell you whether the springs are still doing their job and whether the opener is carrying more weight than it should. You don’t need any tools beyond a pull rope and a working set of shoulders.
The balance test
- With the door fully closed, pull the emergency release cord hanging from the opener trolley. This disconnects the door from the opener so you’re moving the door by hand.
- Lift the door slowly to about halfway up and let go. Stand to the side, not underneath.
- A properly balanced door will hold its position with little to no drift. If it slides down on its own, the springs are too slack. If it wants to rise, they’re too tight.
- Lower the door back down and re-engage the trolley by pulling the release cord the other way or running the door up and letting it catch. Then run the door through one full open-close cycle to confirm the trolley has re-engaged.
The force test
- With the door reconnected, close it and watch how it moves. A door that shudders, hesitates, or moves noticeably slower than it opens is struggling.
- Open the door and hold one hand lightly against the bottom edge as it rises. You should feel steady lift, not a groaning, uneven pull. Do not put your fingers between panels or near the hinges.
- If the opener has a force adjustment dial or setting (most modern openers do – check the manual for your model), leave it alone until you’ve run the balance test. A door that needs more force to move usually has a spring or roller problem, not an opener problem.
What the results mean
Balances and moves smoothly: everything’s in order – keep the lubrication schedule going.
Drifts down on the balance test: springs have lost tension or a cable has stretched. If it’s a torsion setup, that’s a spring replacement – a professional job. If it’s an extension spring system on an older door, the springs can sometimes be re-tensioned, but the springs themselves wear and should be inspected.
Grinds, shudders, or moves slowly during the force test: usually a roller, hinge, or bearing problem, sometimes the opener itself. Lubricate first; if the problem persists, it’s time for a closer look.
The 10-Minute Visual Inspection Sequence
This is the quick pass you should run once a month in Bloomington, in between the twice-yearly full checklists. It’s visual only – no tools, no touching anything under tension, and no climbing. From the time you walk into the garage to the time you finish should be under 10 minutes.
The sequence
- Stand back and look at the door from the driveway. Does it look level? Are the panels aligned? A door that’s visibly crooked means a cable, spring, or track issue.
- Look at the tracks on each side. They should be parallel to each other, straight, and free of dents. A dented track is a roller problem waiting to happen.
- Look at the springs from the top of the door opening. Stand to the side and look up. Visible gap in the coil, rust streaks, or dust and shavings under the bar are all warning signs. Do not stand directly under the springs.
- Look at the cables. Frayed ends, kinks, or cables that are visibly slack or wrapped in the wrong spot need a professional eye.
- Look at the rollers from the side. Rollers should sit centered in the track. A roller riding slightly out of its track means the door is misaligned.
- Look at the bottom seal and the side seals. Cracked, missing, or compressed sections should be flagged for replacement.
- Test the safety reverse with a roll of paper towels or a 2×4. Close the door and confirm the door reverses on contact. This is the single most important safety test on the whole system.
- Check the opener’s LED status light if it has one. Most LiftMaster, Chamberlain, Genie, and Craftsman units flash a code sequence for errors. If you see a pattern that isn’t a steady light during normal operation, the manual will tell you what it means.
Ten minutes a month catches most problems before they become expensive. The failures that actually hurt are not the ones that happen suddenly – they’re the ones that gave you six weeks of warnings.
DIY Fix vs. Professional Call: Where the Line Is
Most of a garage door is homeowner-maintainable. A small corner of it is not, and the consequences of getting that corner wrong are serious. The line is clearer than most people think.
Safe for a homeowner
- Lubricating rollers, hinges, and bearing plates
- Tightening hinge and roller bracket bolts
- Replacing weatherstripping (bottom seal, side seals, top seal)
- Wiping down the tracks with a cloth
- Adjusting the opener’s force and travel limits according to the manual
- Testing the safety reverse
- Replacing the battery in the wall button or remote
- Cleaning the photo-eye lenses
Professional only
- Any work on torsion springs, extension springs, or the cables – the springs carry hundreds of pounds of stored tension, and a slip can cause serious injury or worse. This is not a “go slow and be careful” situation; it’s the most dangerous repair in the trade.
- Replacing or adjusting a cable or cable drum
- Straightening or replacing a bent track section
- Replacing a bent bottom bracket (this bracket is under cable tension on most doors)
- Replacing hinges on higher-panel doors where the door must be supported
- Any repair where the door has already stopped closing properly or has come off a track
The grey zone
- Roller replacement. Doing it on the lower panels is straightforward. Doing it on the top panels requires supporting the door, which is where homeowners get into trouble. If in doubt, call.
- Opener replacement. Many homeowners can handle a straight swap of a compatible unit. If the wiring or the safety sensors need relocating, that’s when it becomes a professional job.
- Panel replacement on a damaged door. On a wood door from a brand like Clopay or Amarr, replacing a single panel is manageable. On an insulated steel door from Wayne Dalton or a similar brand, panel matching and re-hanging the door safely is more than a weekend project.
When a finding on the checklist points toward the springs, don’t take the risk. Call a trained technician. Broken spring? That’s our most common call, and it’s a repair we handle safely with the door supported and the tension released properly first.
Opener and Safety Reverse Checks
The opener is the part of the system most people blame first and understand least. In Bloomington, opener failures tend to cluster on very cold mornings (motor under more load than usual against stiff grease) and on humid summer afternoons (circuit boards and photo eyes misbehaving). A few simple checks catch most of them.
Monthly opener checks
- Test the safety reverse. Place a 2×4 flat on the floor in the path of the closing door. The door should contact it and reverse. If it doesn’t, either the opener’s force setting is too high or the travel limits need adjustment.
- Check the photo eyes. With the door starting to close, wave your hand in front of one of the photo eyes. The door should reverse immediately. If it keeps closing, the eyes are misaligned or one has failed.
- Watch the light bulb. If the opener’s work light flickers when the door runs, the unit may be straining. That’s a sign the door is out of balance, not that the opener is failing.
- Listen for the chain or belt. A chain drive from LiftMaster or Chamberlain should hum, not clank. A belt drive should be near silent. Clanking or loud rattling usually means the chain needs to be tensioned (per the manual) or a component inside the unit is worn.
- Check the wall button. If it works but the remote doesn’t, the problem is the remote or the receiver, not the opener itself. If neither works, the opener may have lost power or gone into a fault state.
If the opener is old enough to be struggling with the cold and the smart features on newer units (Wi-Fi connectivity, safety alerts, phone app control) appeal to you, replacement is often more cost-effective than repeated repairs. We work on and install Genie and Chamberlain units as well as the other major brands, and we’ll tell you straight which is the better call for your door.
Common Mistakes to Avoid
- Lubricating the track. It’s the single most common mistake. Grease on the track collects grit, grinds away the roller surfaces, and makes the door run worse. Wipe the track clean; leave it dry.
- Using WD-40 as a lubricant. It’s a great penetrating oil and a terrible long-term lubricant. In a Bloomington winter it disappears fast and leaves you with a door that’s actually louder than when you started.
- Ignoring a spring with rust streaks. Rust is the leading cause of spring failure. A rusty spring in November is a spring that’s likely to break in January. Call before the cold hits.
- Adjusting the opener’s force setting to fix a stiff door. If the door needs more force to open, the problem is the door, not the opener. Raising the force setting only hides the symptom and puts stress on the opener’s gear and motor.
- Forgetting the safety reverse test. It’s the single most important safety feature on the entire system, and it’s the one most homeowners never test. A forty-dollar repair now is worth more than a kid’s bicycle bent under the door later.
- DIY spring replacement. This is the mistake that sends people to the emergency room. Torsion springs are wound to hundreds of pounds of tension. A single slip can break bones. There is no safe homeowner version of this repair – call a professional.
- Skipping the fall inspection because the door “seems fine.” Most Bloomington garage door failures start with something quiet. The door that works in October and snaps in January usually had a rust streak, a slack cable, or a sagging panel that the homeowner never saw.
See the difference
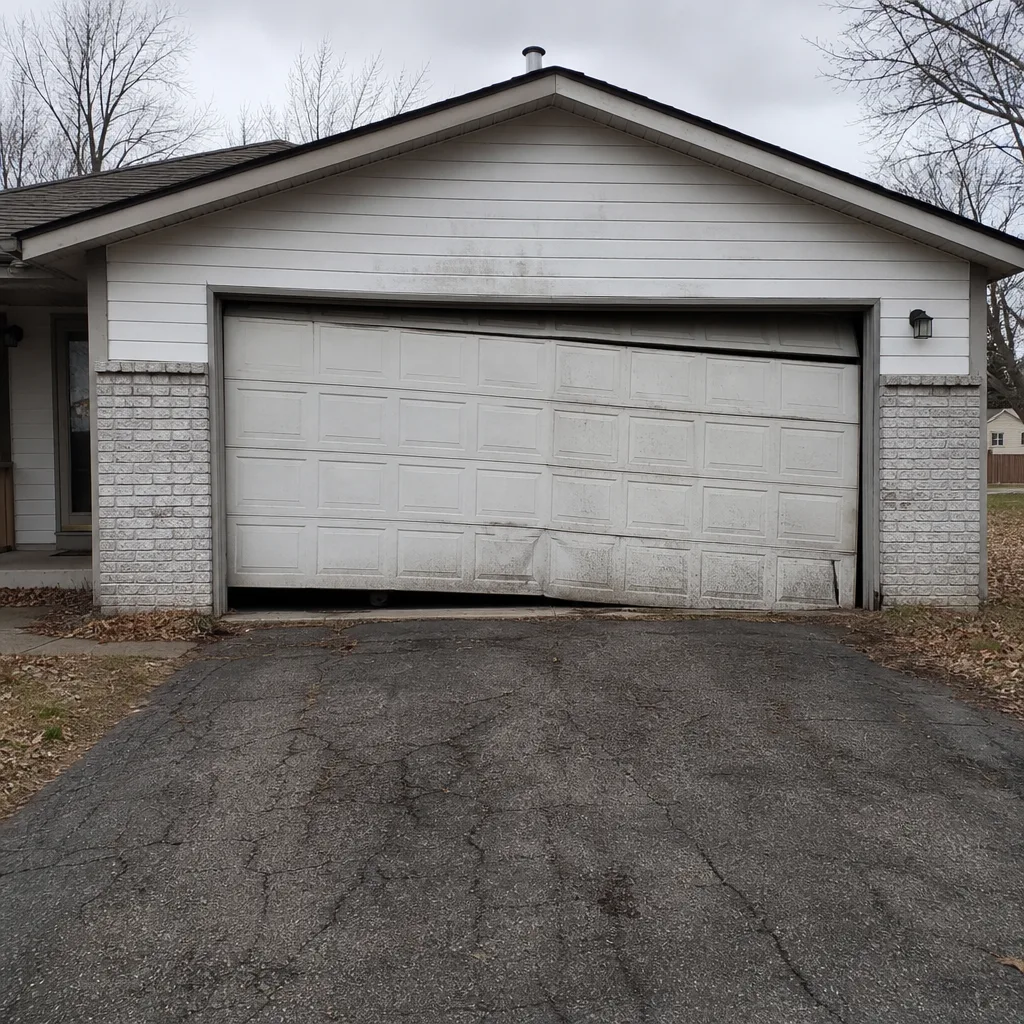 Before
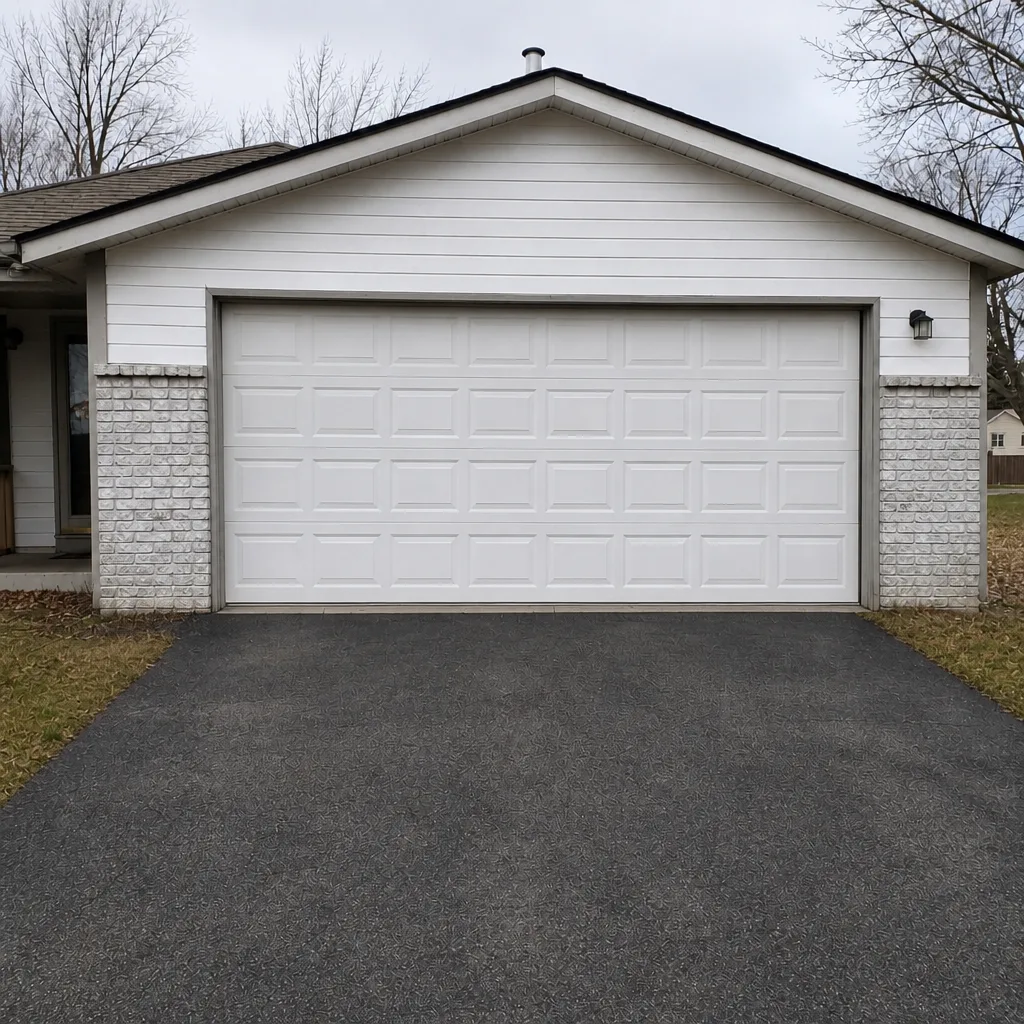 After
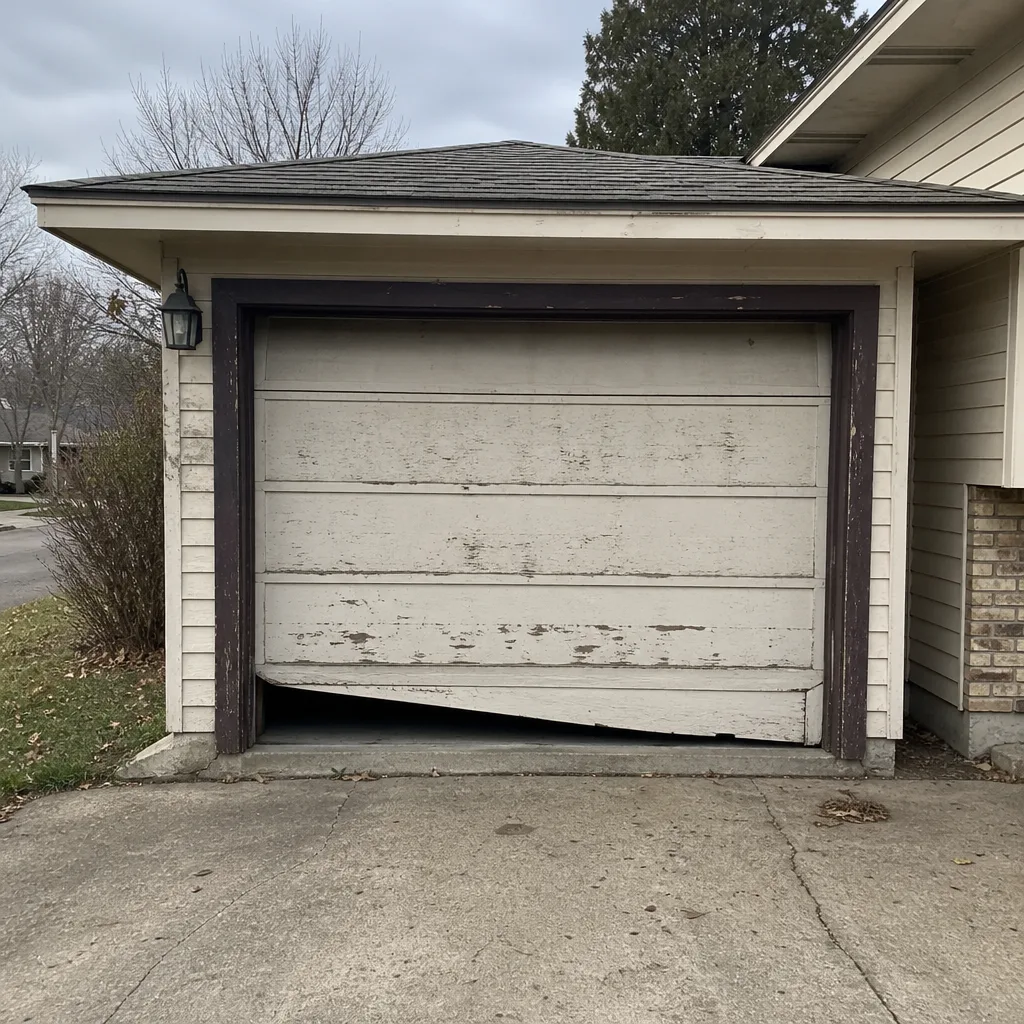 Before
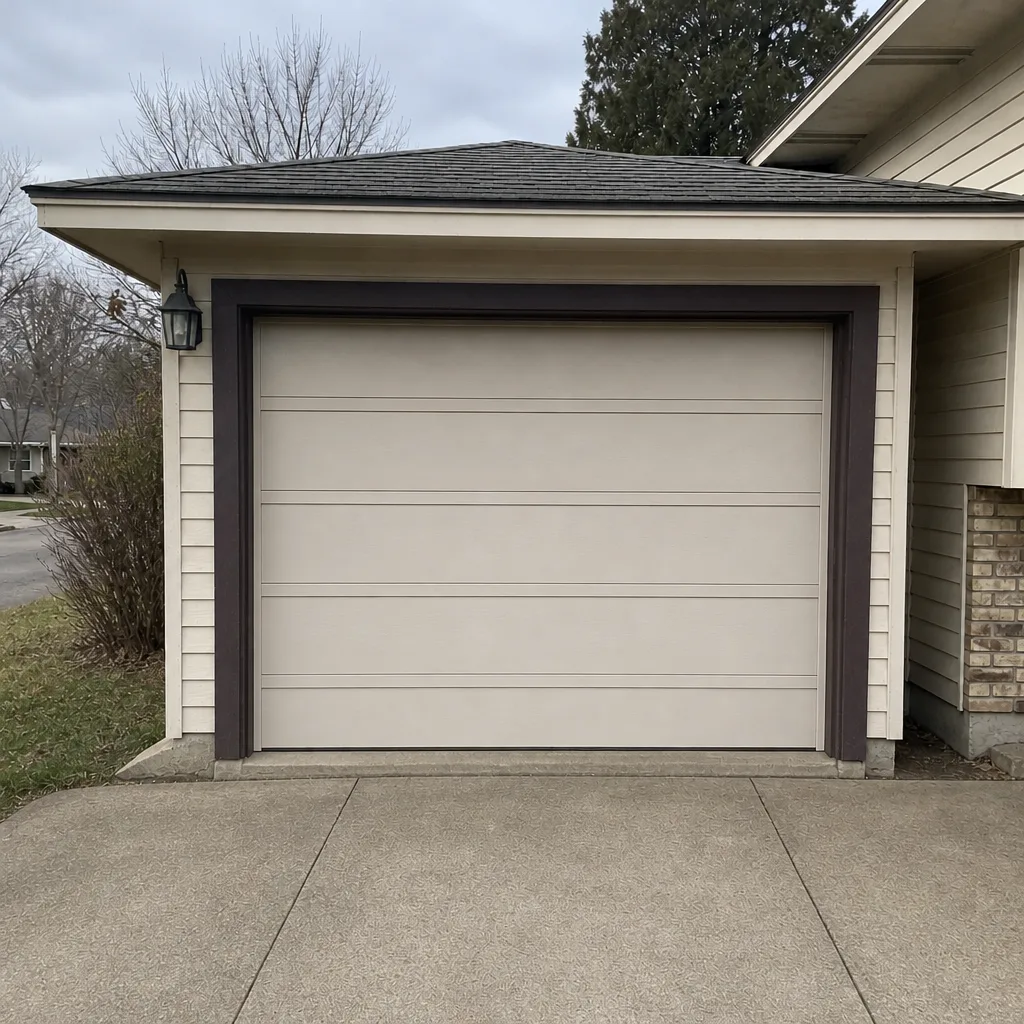 After
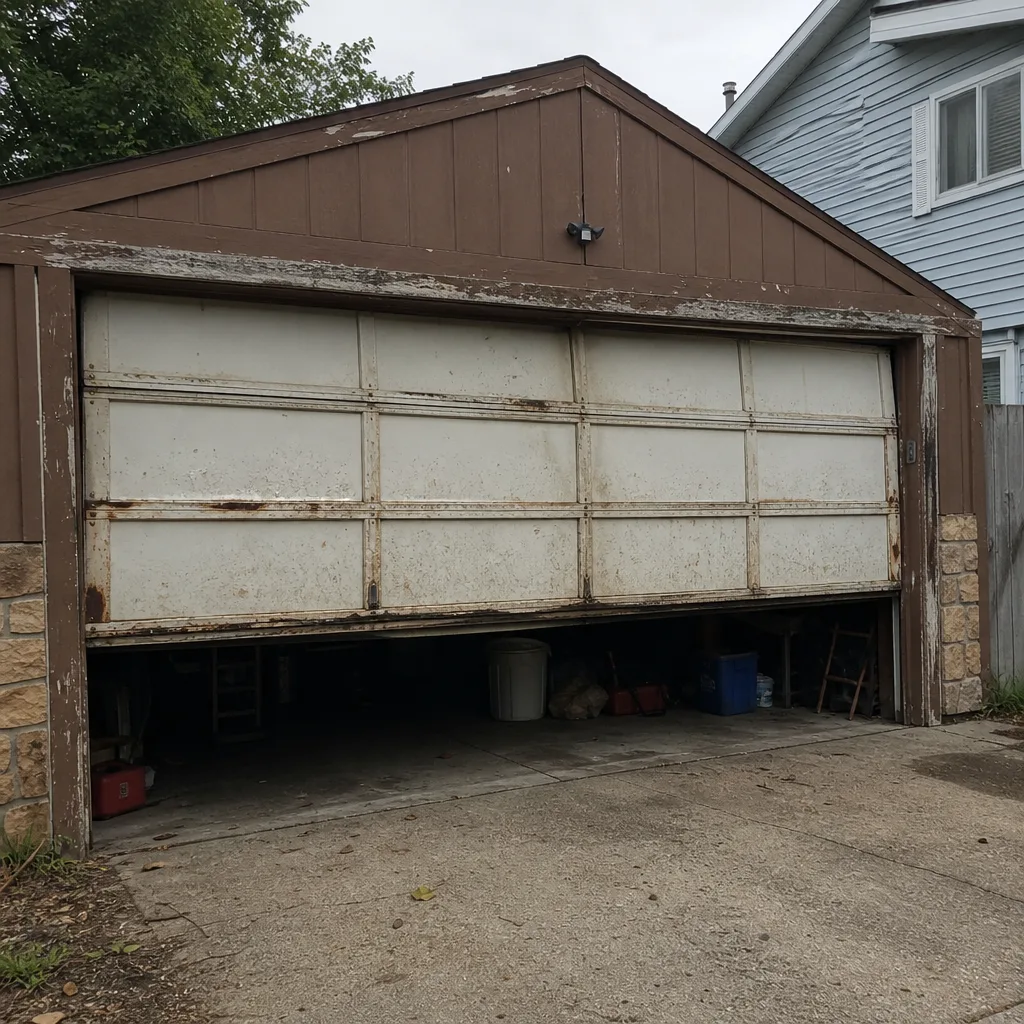 Before
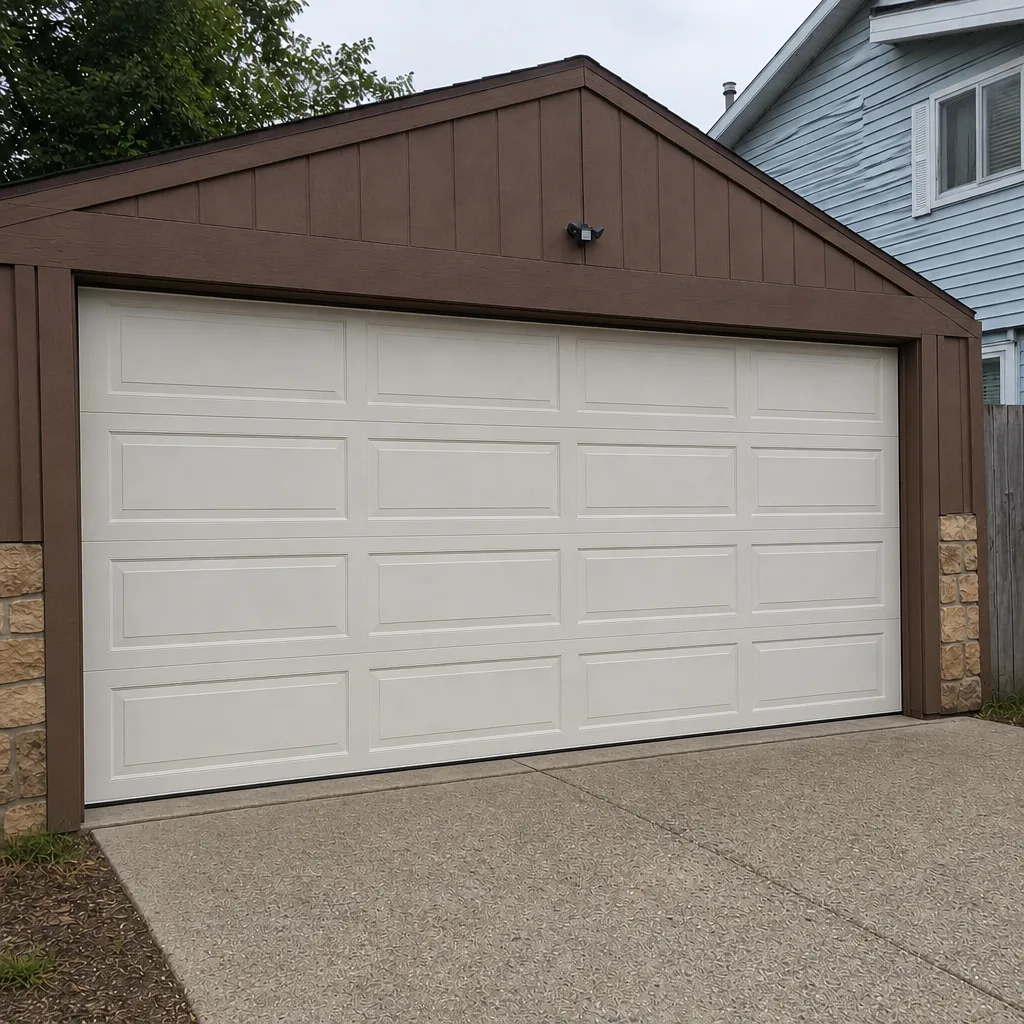 After
When to Call a Professional
Call a professional when the checklist turns up any of the following: a visible gap in a spring coil, a rust-streaked spring, a frayed or kinked cable, a door that fails the balance test, an opener that won’t reverse on contact with an object, a door that’s come off its track, a bent bottom bracket, or any noise that’s new and louder than it was last week. The line between “I can handle this” and “I need to call” is whether the finding involves the springs, the cables, or a door that’s out of alignment. Everything else is homeowner territory.
For the findings that matter, Bloomington Garage Door Repair Pros offers free estimates in Bloomington – call (855) 904-7314. Our technicians have up to 10 years of experience, we handle all eight major brands including LiftMaster, Chamberlain, Genie, Clopay, Amarr, Wayne Dalton, Craftsman, and Raynor, and we quote the price before any work begins. If you’re weighing repair against replacement and want to read more first, our garage door repair page walks through the trade-offs.
Frequently Asked Questions
Once a year is plenty for most Bloomington homes, ideally in the fall before the first hard freeze. Homes with older springs, wood doors, or heavy daily use benefit from a second look in spring. The twice-yearly homeowner inspection above covers the rest of the year.
You can apply a light spray to the springs to reduce noise, but don’t coat them so heavily that you can no longer see rust or wire damage. The springs themselves are not a maintenance item you should be adjusting – leave that to a trained technician. If you see a visible gap, rust streaks, or a coil that looks stretched, call before touching anything.
A torsion spring breaking usually makes a loud, sharp bang like a gunshot or a heavy metal snap, followed by the door becoming extremely heavy or not opening at all. Extension springs on older doors are similar but can be somewhat quieter. If you hear the bang and the door won’t open, don’t force it – call for a professional.
There’s no strict cutoff, but springs get brittle below about 10 degrees Fahrenheit and the door is under more stress. If your door hasn’t been lubricated since fall or the springs are showing wear, limit use on the coldest days and plan on getting the springs inspected before the next season.
Cold thickens lubricant in the roller stems and hinges, stiffens the door’s weatherstripping, and shrinks metal components enough to add friction. All of that means the opener has to push more to move the door. Good fall lubrication and a balanced door handle most of it; if the opener is still straining, the door probably needs a closer look.
If the opener is older than about 15 years, has needed repeated repairs, or lacks modern safety features like auto-reverse and photo-eye sensors, replacement usually makes more sense. If it’s a more recent LiftMaster or Chamberlain unit with a fault that’s fixable, repair is worth it. We’ll give you an honest call either way.
We service and repair LiftMaster, Chamberlain, Genie, Clopay, Amarr, Wayne Dalton, Craftsman, and Raynor products. If your door or opener is from one of those brands, we can work on it. If you’re not sure of the brand, we can identify it during the visit. No matter what brand is on your door or opener, we can usually handle it in a single visit.
The Bottom Line
The most expensive garage door repairs in Bloomington are almost always the ones that were visible weeks before they happened. A twice-yearly inspection – late fall before the freeze, spring after the thaw – plus a monthly 10-minute visual pass catches most of them. Lubricate the right parts (roller stems, hinges, bearing plates) with the right products (white lithium, garage door specific spray, silicone on the track only), leave the track dry, run the balance test and safety reverse test each cycle of the checklist, and know where the DIY line is. That line is bright: anything involving the springs or cables is a professional call, without exception. Everything else is homeowner territory, and doing it well is what keeps the door running smoothly through another Bloomington winter.
If the checklist turns up something that needs real attention, call (855) 904-7314 for a free estimate. We answer 24/7. Fast dispatch from 7am to 7pm, Sunday through Friday. Spring replacement done safely, by trained hands – and the price quoted and agreed before any work starts.
Written by the team at Bloomington Garage Door Repair Pros.