
Last updated November 21, 2026
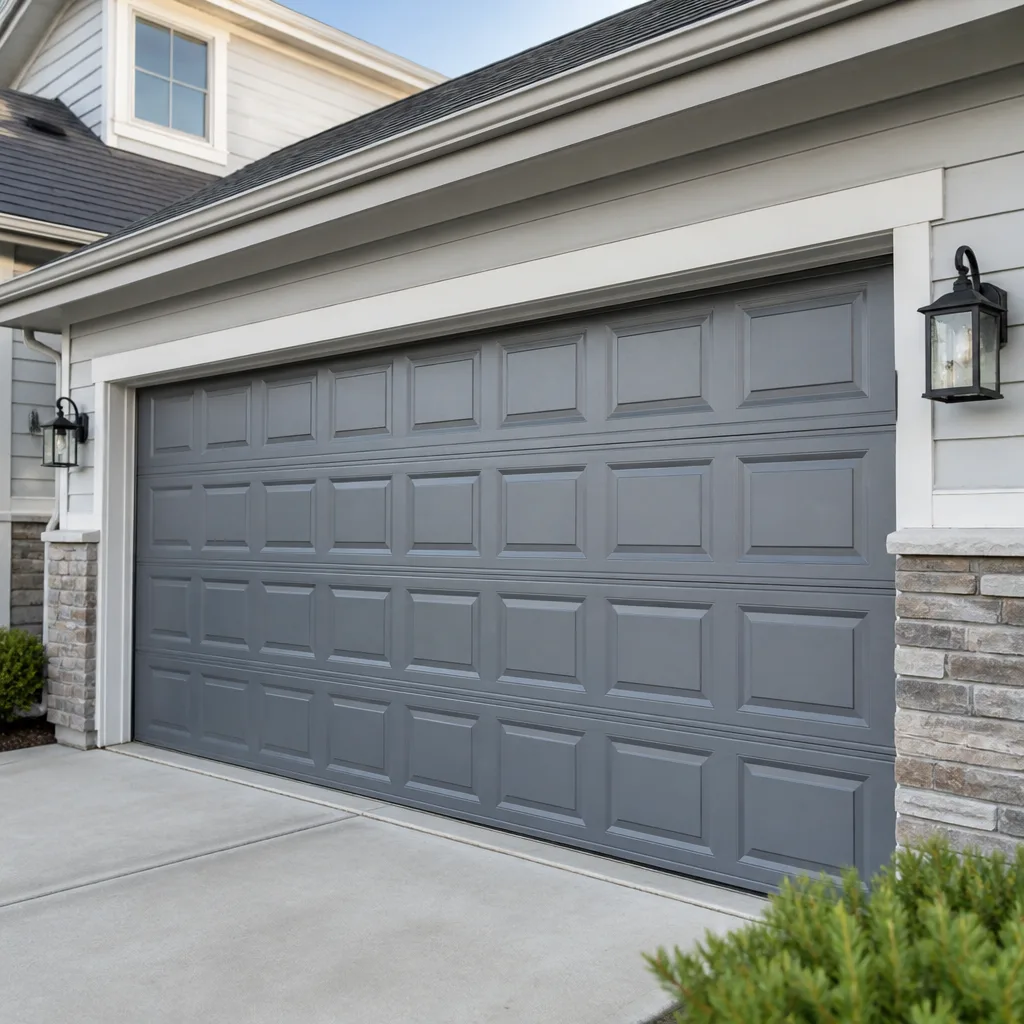 Raised-panel steel
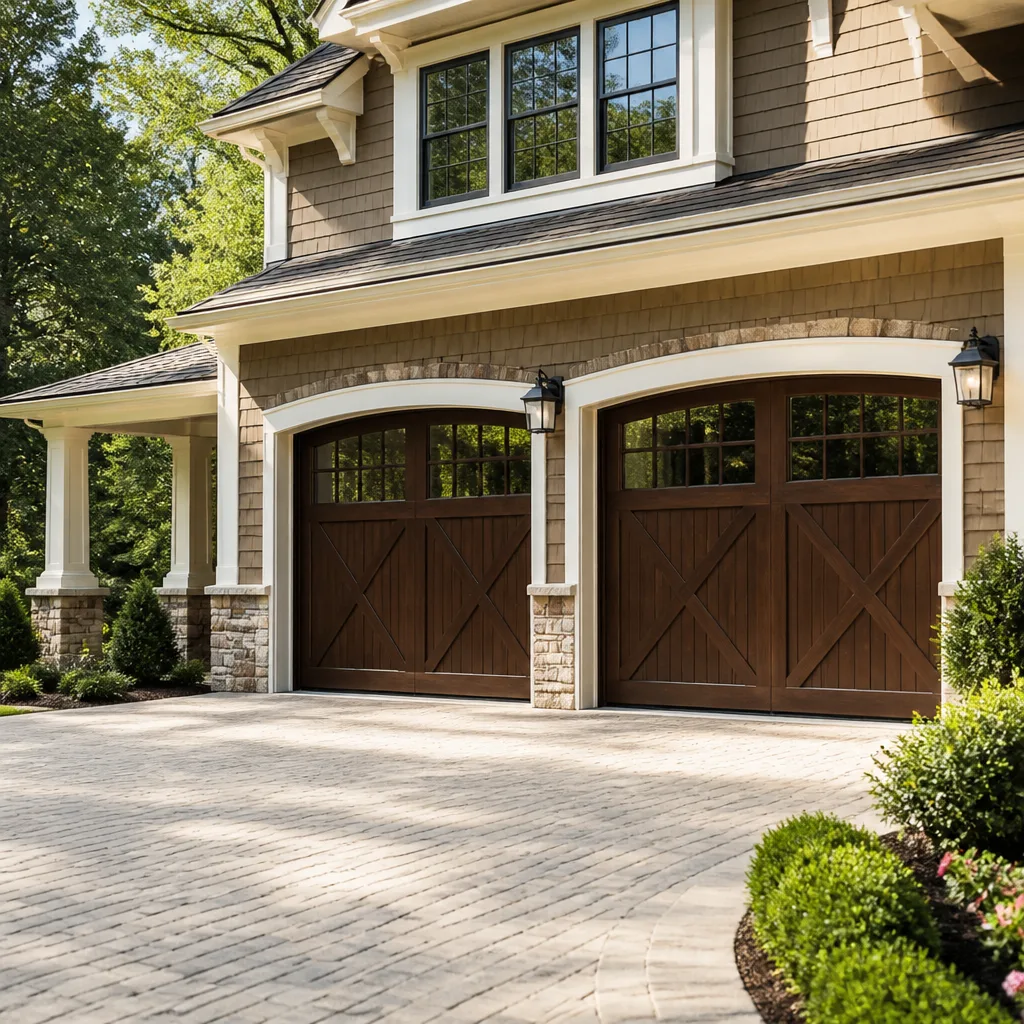 Carriage house
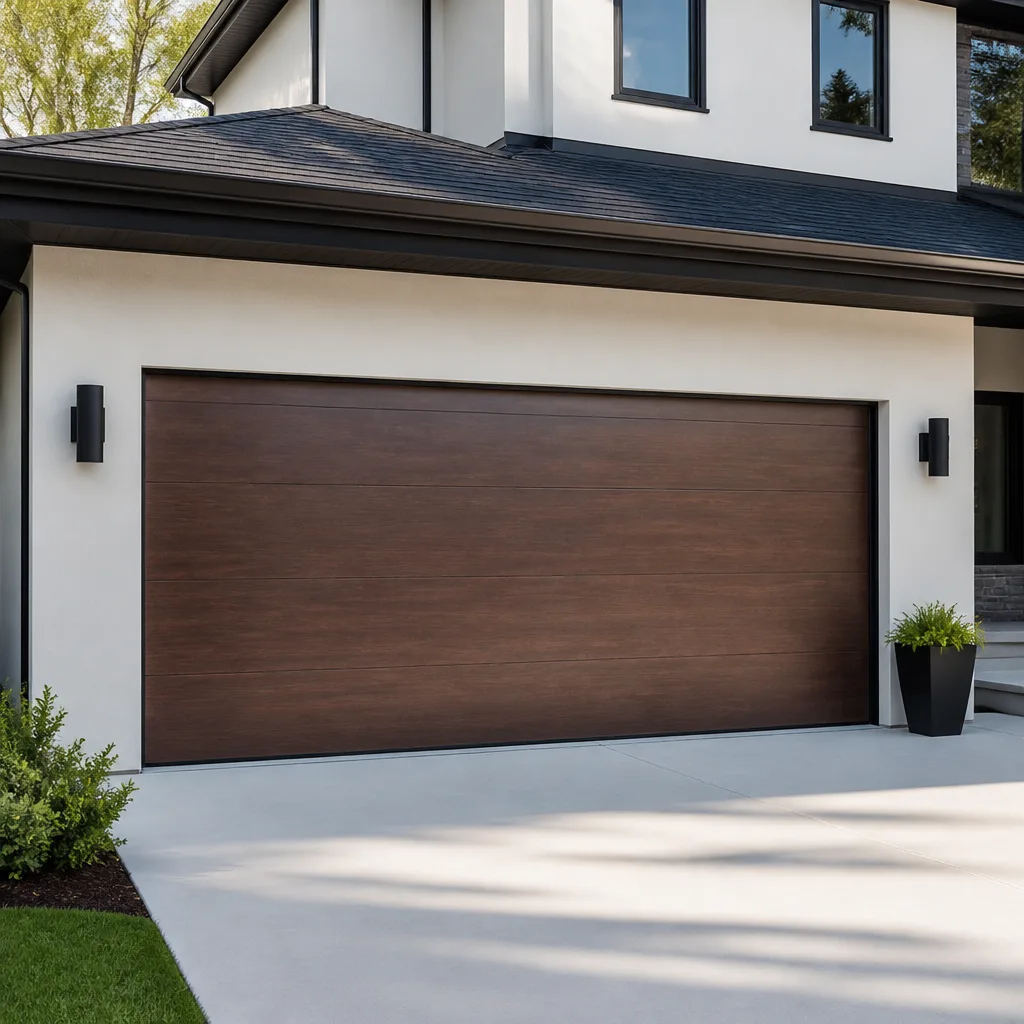 Modern flush
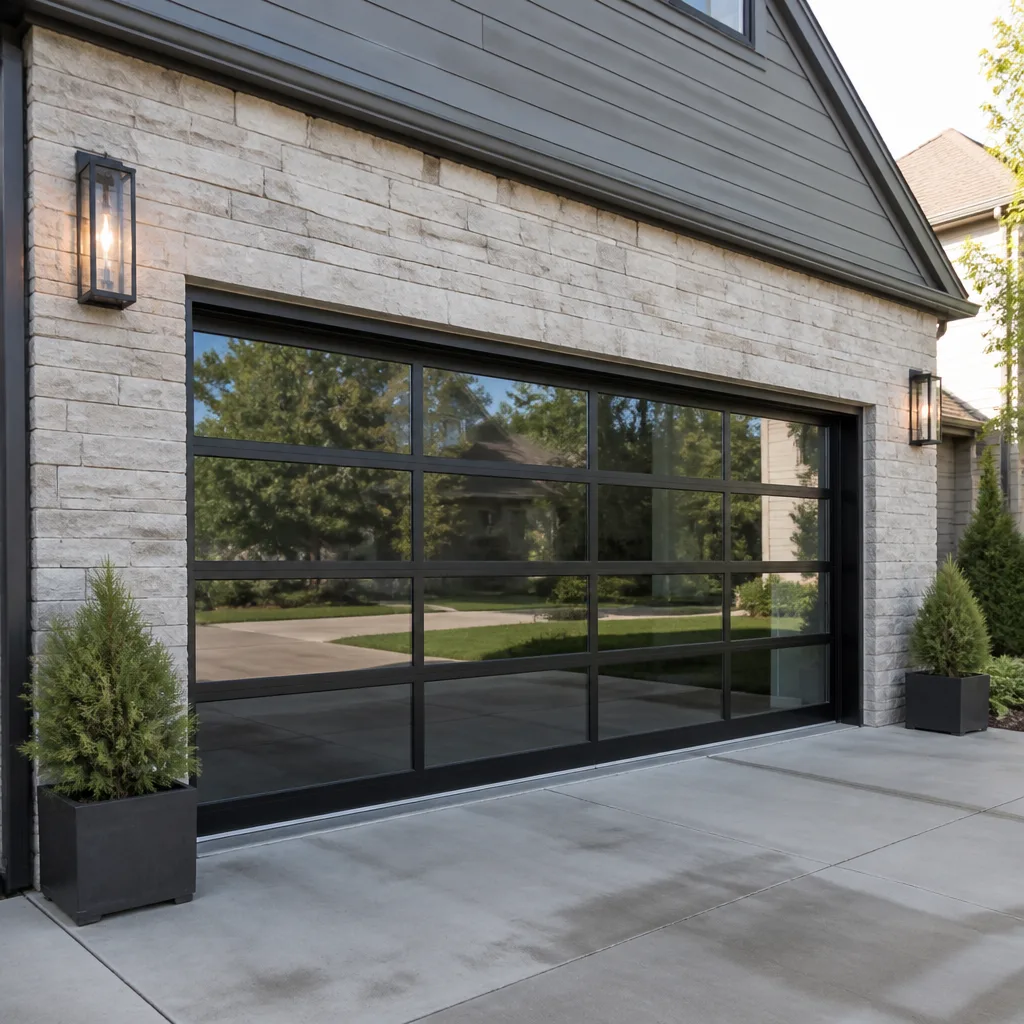 Full-view glass
 LiftMaster openers
 Chamberlain openers
Full 25-point door and opener safety check with every visit - springs, cables, rollers, tracks, and your LiftMaster or Chamberlain opener included
You get a price before we start. It does not change when the pro arrives.
Get your free estimateDIY vs Professional Garage Door: The Bloomington Homeowner’s Decision Guide
Most garage door advice online draws the DIY line in the wrong place. It either warns you off everything – “garage doors are dangerous, never touch them” – or it treats the whole system as a weekend project. Neither is honest. The truth is that torsion springs store enough energy to break a bone or worse in a fraction of a second, and that same homeowner who should never touch a spring can safely replace a set of rollers, lubricate every moving part, swap out a wall keypad, and install a new opener with a little patience and the right tools. The dividing line isn’t your skill level. It’s the physics of which components carry stored energy and which don’t. This guide gives Bloomington homeowners a clear, task-by-task framework for where that line actually sits.
Quick Answer
Safe DIY garage door work is limited to low-energy tasks: rollers, hinges, cables-free hardware, weather seals, lubrication, and opener components that don’t involve the spring system or door balance. Every task involving torsion springs, extension springs, cables, and the bottom bracket is professional-only because those parts hold stored mechanical energy that can cause serious injury. For most Bloomington homeowners, the smart split is DIY for maintenance and small hardware, professional for springs, cables, balance, and any repair where the door itself is failing.
Styles & brands we work with
- Raised-panel steel
- Carriage house
- Modern flush
- Full-view glass
- LiftMaster openers
- Chamberlain openers
Table of Contents
- The Real DIY Line: Injuries, Not Skill
- Task-by-Task DIY vs Professional Breakdown
- Why Torsion Springs Are Categorically Different
- Opener Installation DIY: Tools, Torque, and Sensor Alignment
- The Real Cost Comparison: Parts, Time, and Callbacks
- Assessing Your Door Before You Decide
- Bloomington Climate and Your Garage Door
- Common Mistakes to Avoid
The Real DIY Line: Injuries, Not Skill
Garage door repair is not one skill tier with a single difficulty rating. It’s a stack of very different jobs that happen to share a physical location, and they range from “swap two screws” to “one wrong move and you’re at urgent care.” Most DIY guides flatten that range, and that’s where people get hurt.
The honest framework is energy-based. Ask yourself one question about any task: does the part I’m touching hold stored mechanical energy? A roller doesn’t. A hinge doesn’t. The track isn’t going to whip back at you. But a torsion spring under tension, a cable under load, a bottom bracket with a live cable hooked into it – those all do. When energy is stored, the correct answer is nearly always: professional.
Here’s the split in plain terms:
- Low-energy tasks – lubrication, roller replacement, hinge replacement, weather seal replacement, photo-eye cleaning, wall keypad swap, remote programming. Safe for a careful homeowner with basic tools.
- Moderate tasks – opener motor replacement, track bolt adjustment, sensor alignment, belt or chain replacement. Doable DIY, but with real risks if you skip steps or skip the manual.
- High-energy tasks – torsion spring replacement, extension spring replacement, cable replacement, bottom bracket work, balance adjustment. Professional-only, without exception.
In our experience across Bloomington, the calls that end badly are almost never from the low-energy list. They come from a homeowner who read a blog post, watched a video, and tried to wind a spring. The door didn’t fail gracefully, and the person got hurt. That’s why we push this framework hard – it’s not about discouraging DIY. It’s about drawing the line where the physics actually puts it.
If any of this is more than you want to sort through on your own, Bloomington Garage Door Repair Pros can help you figure out what your door actually needs before you buy a single part.
Task-by-Task DIY vs Professional Breakdown
Here’s the breakdown we give homeowners over the phone, organized by what we’d actually recommend. Use it as your checklist before you start any project.
Safe DIY
- Lubrication – rollers, hinges, spring, track. Use a garage-door-specific lubricant, not WD-40. Reapply a couple of times a year.
- Roller replacement – pop the old roller out of its hinge, slide a new one in. No tension nearby. Any homeowner can do this in an afternoon.
- Hinge replacement – hinges handle no spring tension, so swapping one is a screwdriver job.
- Weather seal and bottom seal replacement – glides in and out of a channel. Fixes drafts, dirt intrusion, and the summer bug problem that comes with a Bloomington July.
- Photo-eye cleaning and minor alignment – a rag and a screwdriver. Fixes the majority of “door reverses randomly” complaints.
- Wall keypad or remote programming – a manual, five minutes, zero risk.
- Tightening loose track bolts – the bolts only, never the track position itself.
DIY With Caution and Research
- Opener motor replacement – doable, but you’ll need to match torque (opener pulling force) to the door’s weight, and you’ll need to align the safety sensors. See the section below.
- Belt or chain replacement – moderate, but easy to overtighten.
- Safety sensor bracket replacement – fine as long as you don’t adjust the alignment beyond the manufacturer’s spec.
- Weather stripping around the door frame – cosmetic, low risk, high learning curve on installation neatness.
Professional Only
- Torsion spring replacement – stored energy. Never DIY.
- Extension spring replacement – same category.
- Cable replacement or repair – a snapped cable releases stored energy instantly.
- Bottom bracket work – because the cable terminates there, the bottom bracket is functionally part of the spring system.
- Track straightening or realignment – a bent track can throw the door off its rollers while you’re under it.
- Balance and tension adjustment – requires spring knowledge and proper gauges.
- Panel replacement on a failed door – panels are structural, and mismatched panels at the joints create new failure points.
For the professional-only items, our garage door spring repair service handles the highest-risk tray of parts safely, and our garage door repair coverage addresses the rest of the list.
Why Torsion Springs Are Categorically Different
Torsion springs are not “harder” than other garage door repairs. They’re a different risk class entirely – because they’re the only component on the door that holds enough energy to cause permanent injury, and that energy doesn’t announce itself.
Here’s the mechanics without the exaggeration. A torsion spring is a coil of steel wire wound with the door’s full weight in mind. The spring could be holding back a hundred and fifty pounds or several hundred, depending on your door size. When you wind it with a proper winding bar, you’re charging that spring to a precise tension, and the door works by the spring releasing that tension against gravity as the door closes. That tension is what makes the door feel light.
The danger is simple: if any part of the spring or its anchoring hardware fails while you’re holding tension, all that stored energy comes out in a fraction of a second. Not in slow motion. Not in a manageable push. In a fraction of a second, with enough force to break bones, sever fingers, or worse. That’s not a scare tactic – it’s the geometry of the parts. Professional technicians wind and unwind springs with winding bars designed for the purpose, keep their bodies out of the danger arc, and carry the physical experience to feel tension releasing before it becomes a problem.
Extension springs are similar. Even with the safety cables most modern doors use, extension springs under tension can release with serious force when they fail.
Cables and bottom brackets belong in this category too, because the cable is what carries the spring’s energy from the spring to the door. When a cable is under load, it’s an extension of the spring system. When the bottom bracket is what anchors the cable, it’s the same story. There’s no safe DIY path on any of these parts, no “just be careful” version that makes sense.
If you take nothing else from this guide: leave springs, cables, and bottom brackets alone. The task is professional-only because of the physics, not because of gatekeeping.
Opener Installation DIY: Tools, Torque, and Sensor Alignment
Installing a new opener is one of the few moderate-DIY tasks on a garage door, and it can go well for a homeowner who reads the manual front to back. It can also go badly in ways that are easy to miss – and those misses are usually the ones that void the manufacturer’s warranty.
Here’s the checklist that matters:
- Match the opener to the door. Door weight and dimensions dictate opener strength. A too-strong opener on a light door stresses the panels; a too-weak opener shortens motor life and barely lifts the door.
- Read the torque and force spec in the manual. Most openers will specify a force limit for the door weight category, and the opener’s force adjustment (not torque in the automotive sense, but pulling force) has to match or the opener will reverse unpredictably or refuse to close.
- Mount the header bracket to solid framing. Not drywall. Not a joist hanger. Solid framing. A header bracket that pulls out under load drops the door and the opener together.
- Set the safety sensor alignment. Photo eyes must be aligned, at the correct height (typically 4-6 inches off the floor), and unobstructed. Misalignment is the number one cause of “door reverses on the way down.”
- Run the safety reverse test. Place a 2×4 flat on the floor under the door and close it. The door must reverse on contact. If it doesn’t, stop and adjust the force limit.
- Walk the full open-close cycle several times, listening for strain, uneven speed, or hesitation. Any of those means the force setting or door balance needs another look.
- Program the remotes and Wi-Fi last. Get the door working mechanically first, smart features second. If the door doesn’t open reliably by wall switch, the remote won’t fix that.
Brands matter a little in this task and a lot in the diagnosis. If you’re servicing a Wayne Dalton, a Craftsman, or a Raynor, the manual’s adjustment procedures differ enough that you should track down the model-specific manual before you start. When we handle garage door opener repair around Bloomington, matching the specific model to the right force and sensor setup is most of the job.
The Real Cost Comparison: Parts, Time, and Callbacks
A DIY garage door repair can cost less than a professional repair – sometimes considerably less – but only when the repair goes right the first time. When it doesn’t, it costs more, and the gap usually comes from three things homeowners underestimate: time, callbacks, and warranty voiding.
Parts
For a low-energy task like a roller replacement, DIY parts cost is well below what a professional visit costs, because you’re paying for the part only. For a moderate task like an opener install, parts are often similar to what the installer would source, sometimes slightly higher if you buy retail rather than through a supplier. For a spring or cable repair, DIY parts cost is misleading – it looks cheap, but you also need winding bars, the correct gauges, and the tension knowledge that makes the part usable. And on springs, the injury risk isn’t priced in at all.
Time
DIY opener installation usually takes a homeowner four to six hours the first time: reading, drilling, adjusting, testing. A trained technician with garage door repair experience typically installs in a fraction of that. Roller replacement is a two-hour task either way. Spring replacement is close to a non-starter DIY, because the winding process itself can’t be safely improvised.
Callbacks
The single biggest cost difference in DIY work comes from callback repairs – cases where the first repair didn’t hold and now a second repair has to undo the first. Misaligned openers, over-tightened belts, wrongly torqued springs, and improperly seated rollers are the standard set. A keypad “repair” that ends up needing a new logic board costs more than having called the professional once.
Warranty Voiding
Many opener manufacturers void the warranty if installation or repair is performed by anyone outside their certified network. If the opener fails within the warranty period, you may find yourself paying for a replacement you thought was covered. That matters most on new installations, where the manufacturer’s warranty is one of the things you’re actually paying for.
Cost Table (Estimated Ranges)
Here are typical Bloomington-area cost ranges for the tasks we get asked about most. These are estimates – the written quote sets the final price.
- Roller replacement (DIY or pro): $50-$150
- Weather seal replacement: $75-$200
- Opener repair: $100-$350
- Opener replacement (installed): $300-$700
- Torsion spring replacement (single spring): $180-$340
- Extension spring replacement: $150-$300
- Cable replacement: $100-$250
- Track realignment: $100-$250
For a mattress-model pair of torsion springs done together, expect roughly double the single-spring range, because they’re replaced as a matched pair. Any written quote we give is agreed before we start – the number on the estimate is the number on the invoice.
Assessing Your Door Before You Decide
Here’s the trap that costs Bloomington homeowners the most money: they look at one broken part, assume a DIY repair will fix it, and end up spending more on parts and repairs than a replacement would have cost. That happens because the part failed for a reason. Before you buy a single roller or hinge, check the door’s overall condition.
Run through this list in five minutes:
- Open and close the door by hand. It should move smoothly, feel balanced (not heavy or light), and stay put at half-open. If it slams down, drifts up, or feels like a different door from one side to the other, the balance system – meaning springs – is compromised. Professional.
- Look at the panels. Any visible bowing, rust through, dents near the hinges, or separation at the joints means the door is stressed. Panel replacement may be cheaper than continuing to repair stress cracks.
- Inspect the rollers. Worn, chipped, or flat rollers mean the door is tracking poorly – a DIY roller swap is fine, but expect more failures elsewhere if the track is also bent.
- Check the track alignment. If the door wobbles, jumps, or shudders in the track, the door is out of alignment. That’s not a roller issue – it’s a track repair, and often a sign the door assembly has shifted.
- Look at the spring age. Springs have a fatigue life. If your springs are the originals on a door past ten years, a repair on a different part won’t prevent the eventual spring failure. Plan for both.
- Test the safety reverse feature. Place a 2×4 under the door, close it. If it doesn’t reverse, stop and call. That’s a safety failure no DIY repair should leave in place.
If more than one of these checks fails, you’re not looking at a DIY repair. You’re looking at a system that needs assessment, and a repair on a door that needs replacement costs more than either option alone. That’s why we quote per job after the door is actually inspected.
Bloomington Climate and Your Garage Door
Bloomington’s climate asks quite a bit of a garage door, and that affects which repairs hold and which don’t. Two things in particular matter for DIY decisions.
The winter-to-spring freeze-thaw cycle is the biggest one. Water gets into weather seals, freezes, and expands, then softens again. By the time April arrives, rubber seals that looked fine in October are cracked and pulling away from the door edge. That’s actually a good DIY task – the seal is a wear part, not a structural one. We’d rather see a homeowner replace the seal themselves in spring than pay for a callout on a worn seal, because that’s the easy end of the priority list.
The deeper issue is what freeze-thaw does to the door hardware. Hinges, rollers, and springs sit through the same expansion cycles, and the fasteners loosen over the season even when nothing looks wrong. That’s where the annual bolt-check-and-lubrication routine comes in. It’s the single most valuable DIY habit for a Bloomington garage door, and it’s the one that prevents most of the spring failures we see.
The track alignment matters too. Ground movement under a garage – slab settling after a wet spring – can throw a door slightly off its tracks even without a bent rail. If your door has started hitting a track edge that it cleared cleanly last year, don’t attempt to straighten the track yourself. A realignment done with a mallet and eyeballing usually makes it worse. That’s a professional job with gauges.
Common Mistakes to Avoid
- Trying to wind a torsion spring without winding bars. Two things happen: the spring doesn’t hold its tension correctly, and the release when it slips is unpredictable. This is the injury call we never want to take.
- Assuming the door’s balance problems are a roller issue. If the door is heavy on one side or won’t stay put, the balance is off and the spring system is the source. Replacing rollers won’t fix it.
- Over-tightening a belt on a chain-drive opener. A belt too tight sounds fine at first, then starts stressing the sprocket and creating weird noises. Follow the manual’s slack spec.
- Ignoring a failed safety reverse test. If the door doesn’t reverse on contact, stop and call. This is a real safety failure and any DIY adjustment short of the correct one leaves the problem in place.
- Buying springs by length alone. Torsion spring specs include wire gauge, inside diameter, and length. The wrong spring fitted to the door either can’t lift it or lifts it too easily, and either shortens spring life dramatically.
- Installing an opener without checking the balance first. If the door’s spring is weak, the opener works overtime and fails early. The right order is balance, then opener.
- Running the door through a full cycle without looking at it first. Opening or closing a door with a broken cable or a bent track can turn a cheap repair into an expensive one. Look before you operate.
When to Call a Professional
Call a professional when the issue involves springs, cables, bottom brackets, track straightening, or balance. Those are the parts where the stored energy exceeds the safety margin of any DIY attempt. Call when the door has failed suddenly (a snap, a bang, a dropped door), when the safety reverse test fails, or when the door is getting harder to open over weeks rather than all at once – that last one usually means a spring is failing slowly. Call if the door is 15 years old or more and the repair ticket is climbing; at some point the door is the problem, not any single part. And call when a DIY repair you just did made a new symptom appear – that’s the callback case worth stopping early. If you’re unsure whether your issue is DIY-appropriate, our garage door opener repair line can talk through it either way. Bloomington Garage Door Repair Pros offers free estimates in Bloomington – call (855) 904-7314.
See the difference
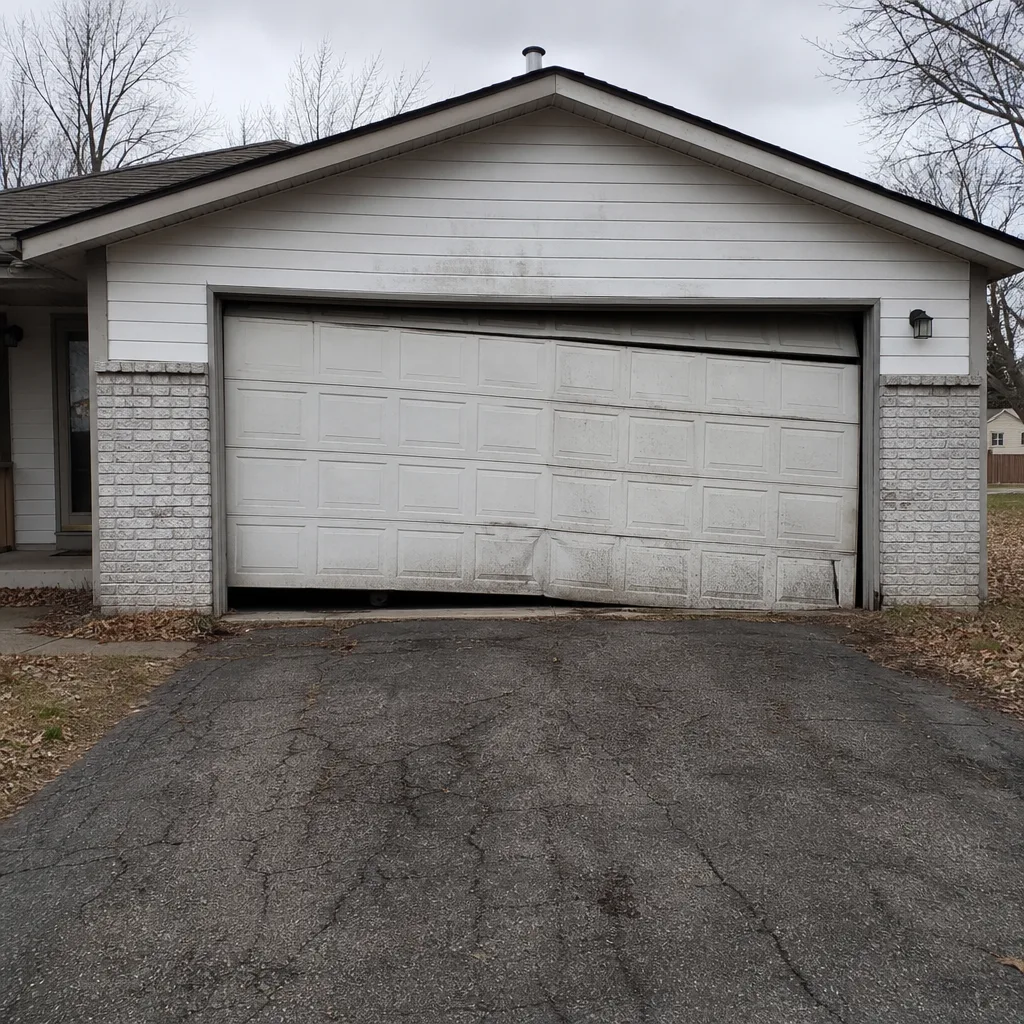 Before
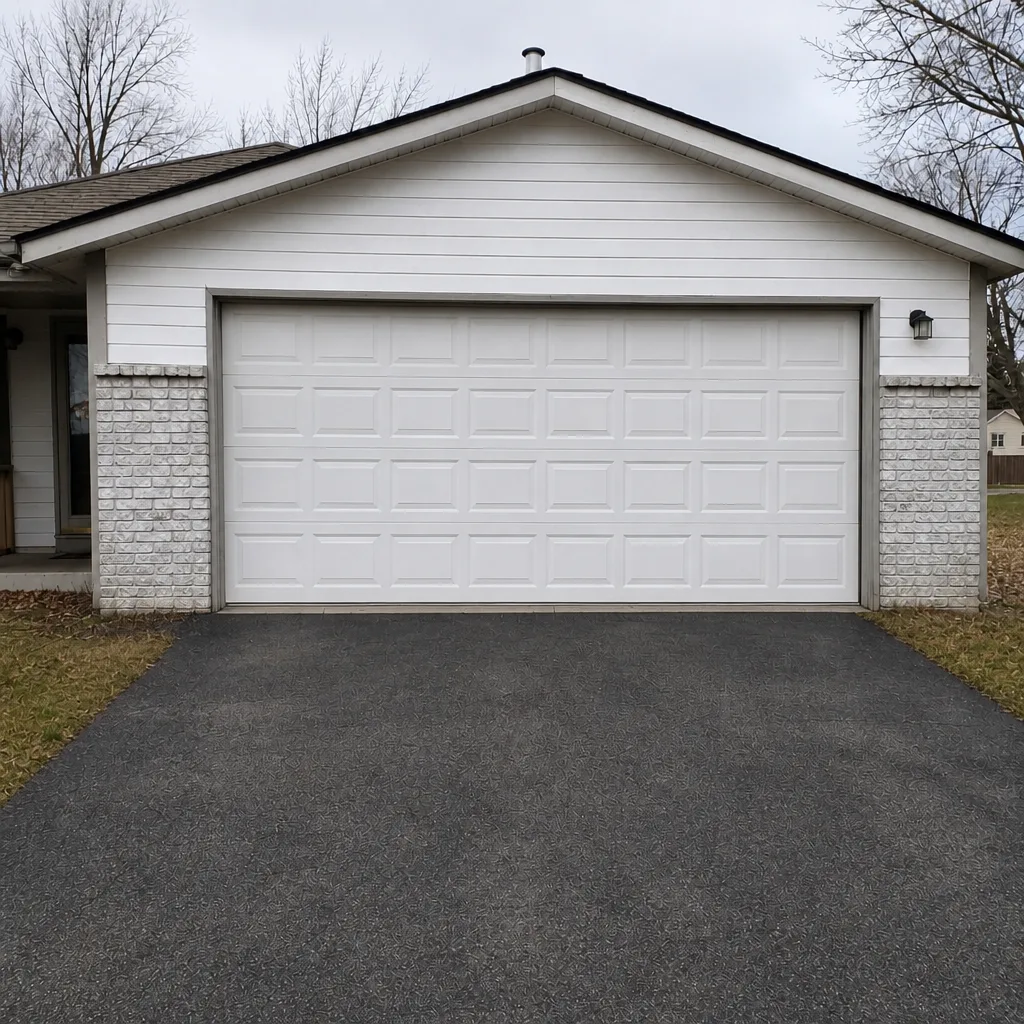 After
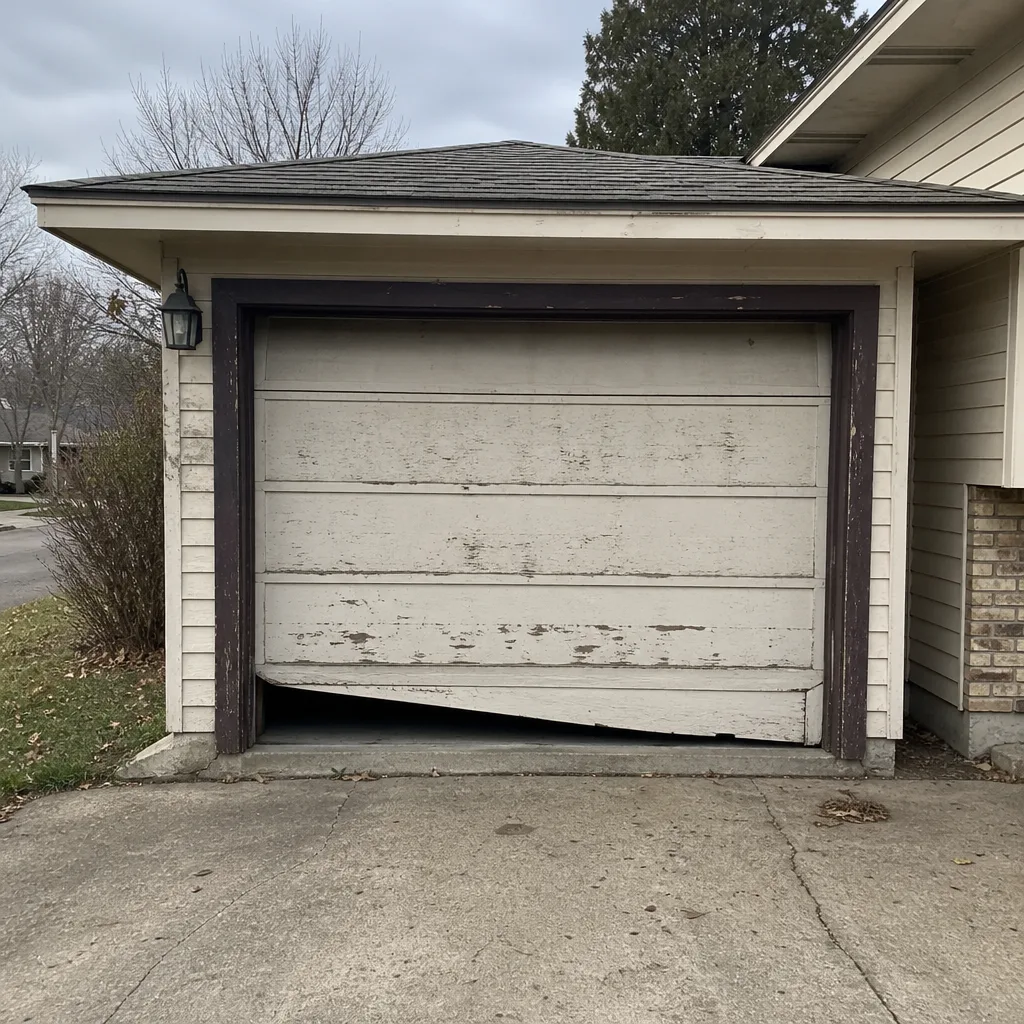 Before
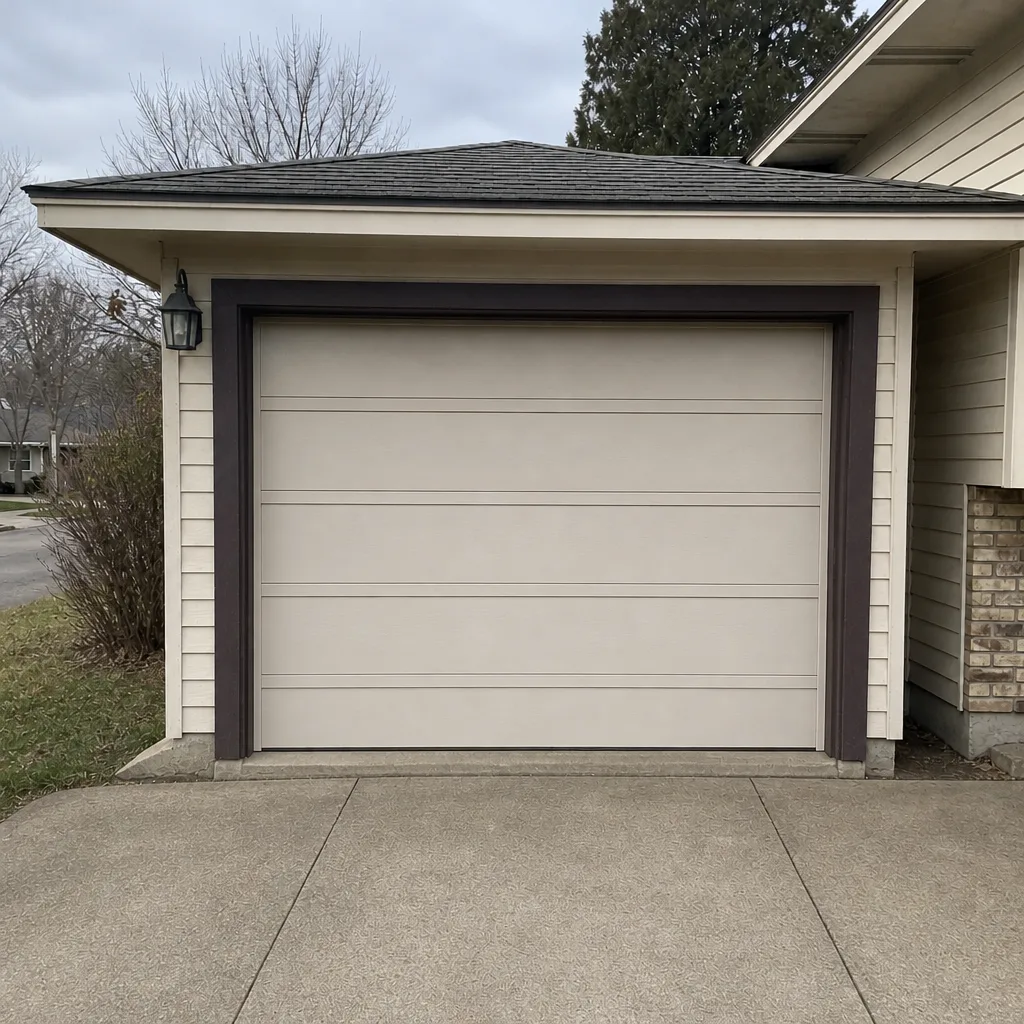 After
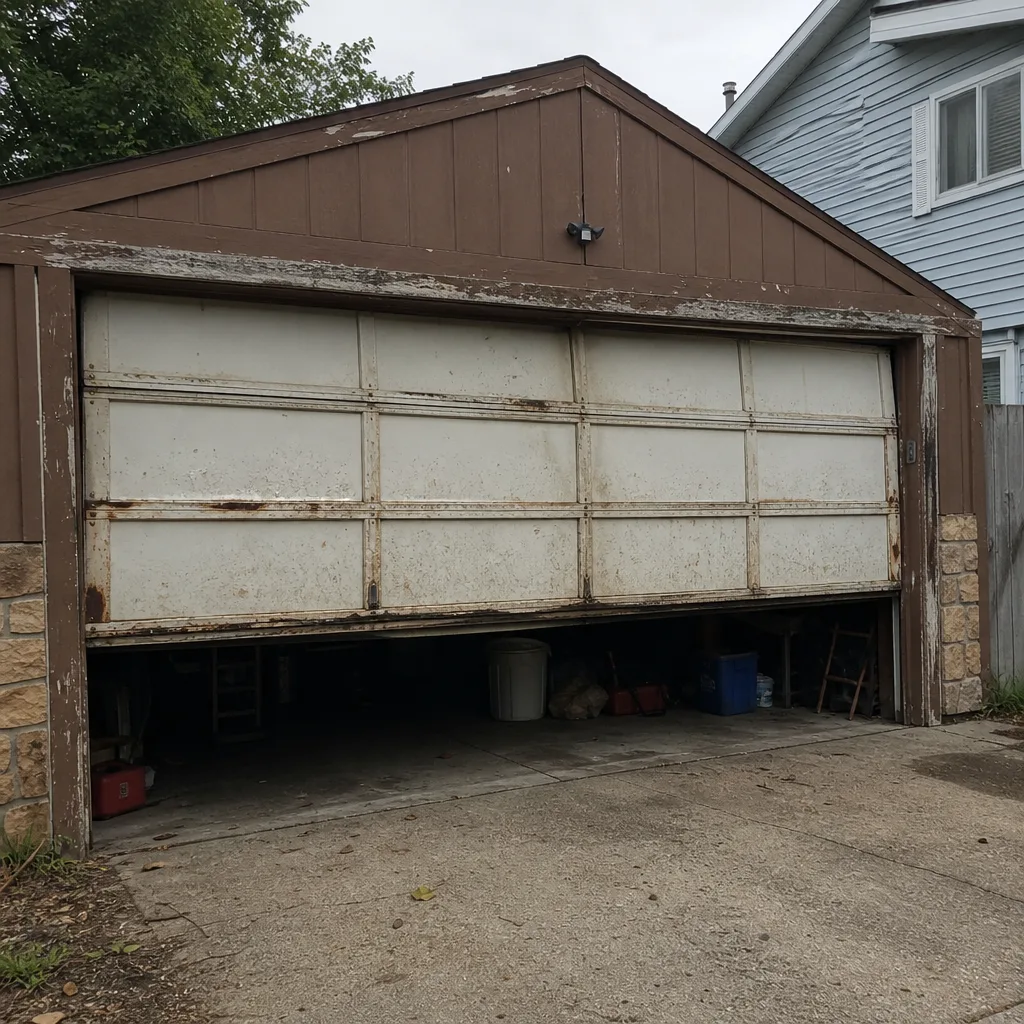 Before
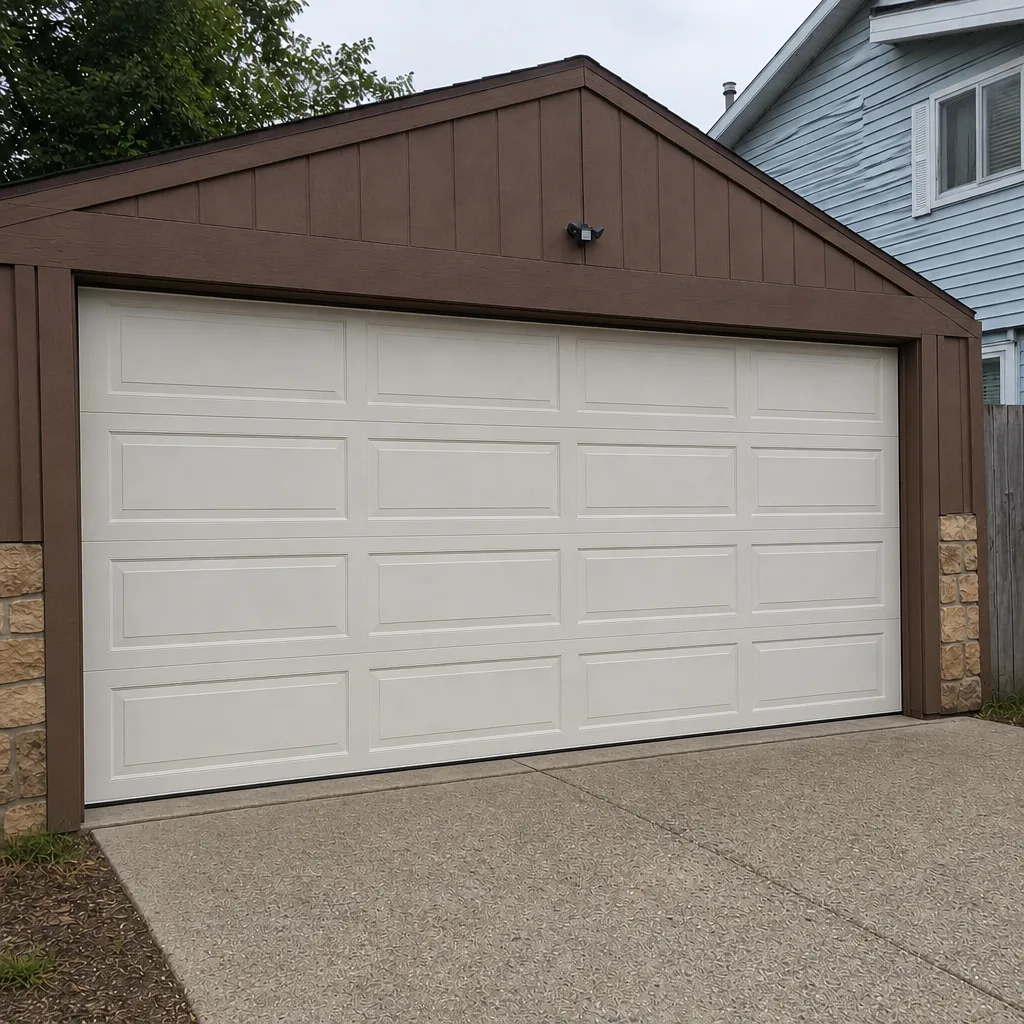 After
Frequently Asked Questions
No. Torsion and extension springs store mechanical energy that can release with enough force to cause permanent injury in a fraction of a second. Spring replacement belongs in the professional-only category regardless of your mechanical skill; the tools and tension gauges required aren’t consumer-grade equipment. Call for a professional spring replacement instead. The range in Bloomington is typically $180-$340 for a single spring.
Generally yes, with caution and a willingness to follow the manual exactly. The two risks to manage are force-limit calibration (matching the opener’s pulling force to the door weight) and safety sensor alignment. Both are covered in the installation manual; skipping either voids the manufacturer’s warranty and creates unpredictable door behavior. If the door isn’t already balanced, get the balance fixed before the opener goes in.
Repair usually wins if one discrete part has failed and the door panels, tracks, and frame are otherwise sound. Replacement tends to win when the panels are bowed, dented through, or rusted at the joints, or when the door is older and the repair list has grown past the cost of a new installation. Assess the panels and the door’s balance before deciding. If both check out, repair is usually the better value.
They can. Many opener manufacturers void the warranty if installation or repair is performed by someone outside their certified network. Door panel warranties often carry similar language about installation and repair by unauthorized parties. If your door or opener is still under warranty, check the manufacturer’s terms before you touch it – the parts savings rarely outweigh a lost warranty claim.
Lubrication, roller replacement, hinge replacement, weather seal replacement, photo-eye cleaning and small alignment, and remote or keypad programming. Those tasks involve no stored spring energy and require only basic hand tools. An annual bolt-tightening pass and a couple of lubrication rounds per year go a long way in Bloomington’s freeze-thaw climate.
Yes. Incomplete or incorrect DIY repairs are a normal part of what we see around Bloomington, and the right move is usually to stop, inspect, and correct the original problem rather than add another repair on top. The price you’re quoted is agreed before we start, and it’s the number on your invoice. Free estimates on any repair or install.
The Bottom Line
The DIY vs professional question for your garage door has one simple answer underneath all the nuance: draw the line at the energy. Low-energy tasks – lubrication, rollers, hinges, seals, sensors, keypads – are safe, worthwhile DIY work that most Bloomington homeowners can handle with basic tools and a manual. Moderate tasks like opener installation are doable with care and a warranty check. High-energy tasks – torsion springs, extension springs, cables, bottom brackets, track straightening – are professional-only, and no amount of YouTube confidence changes that. The three things that turn a DIY repair expensive are time, callbacks, and voided warranties, so if you’re not certain, the smart move is a free estimate rather than a second repair on top of a first attempt gone sideways.
Contact Us
Call (855) 904-7314 for a free estimate on any garage door repair or installation in Bloomington. We answer 24/7. Fast dispatch from 7am to 7pm, Sunday through Friday. Whether it’s a broken spring, an opener that won’t respond, or a full replacement, the local pro who comes out is licensed and insured as their state requires, and the price is agreed before any work starts. No matter what brand is on your door or opener – Amarr, Wayne Dalton, Craftsman, Raynor, and more – we can help you decide between repair and replacement, and we’ll tell you honestly when the answer is to leave the job alone.
Written by the team at Bloomington Garage Door Repair Pros.